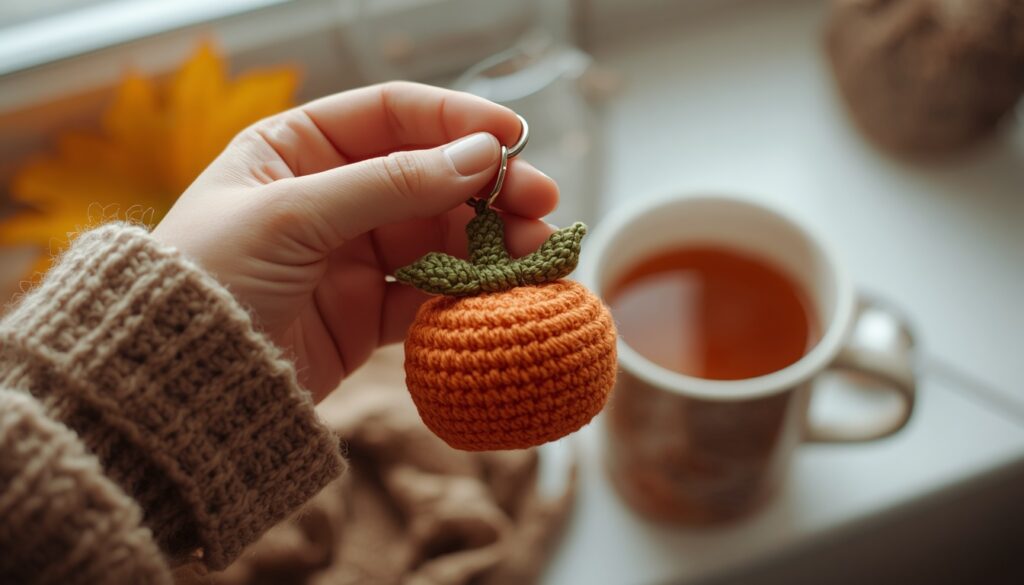
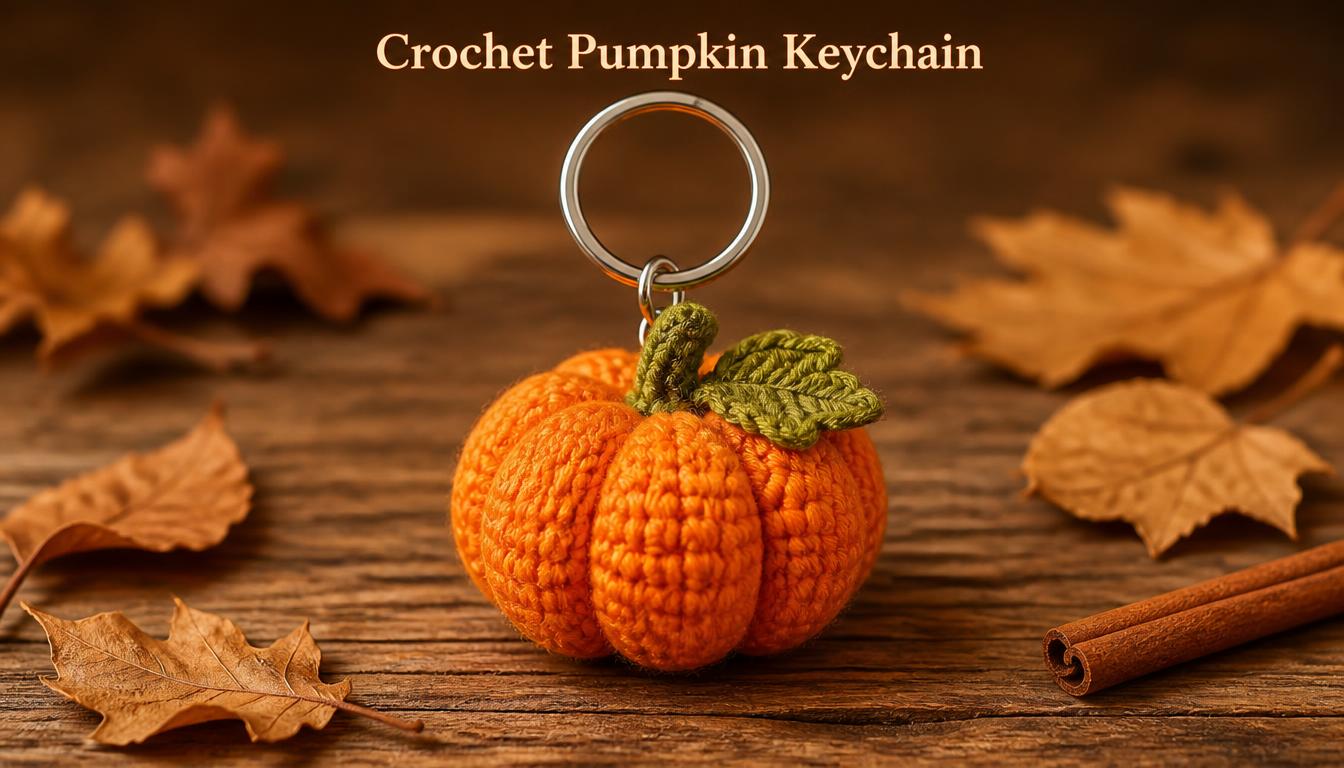
A crochet pumpkin keychain is the perfect fall project for quick makers. It works up in under an hour, so you can finish one tonight. Plus, it only needs a little scrap yarn.
In this guide, you will find a small crochet pumpkin pattern with clear steps. Then you will learn how to turn your cute little pumpkin into a keyring. Because the pattern is beginner friendly, anyone can follow along.
Why Make a Crochet Pumpkin Keychain?
Crochet keychains make fast and thoughtful gifts. They also sell well at fall craft fairs. Moreover, a pumpkin keychain fits every autumn outfit, from backpacks to purses.
You can use this crochet pumpkin keychain as a bag charm too. It also looks great on a car mirror or a zipper pull. Best of all, the mini size means you only need a few yards of yarn.
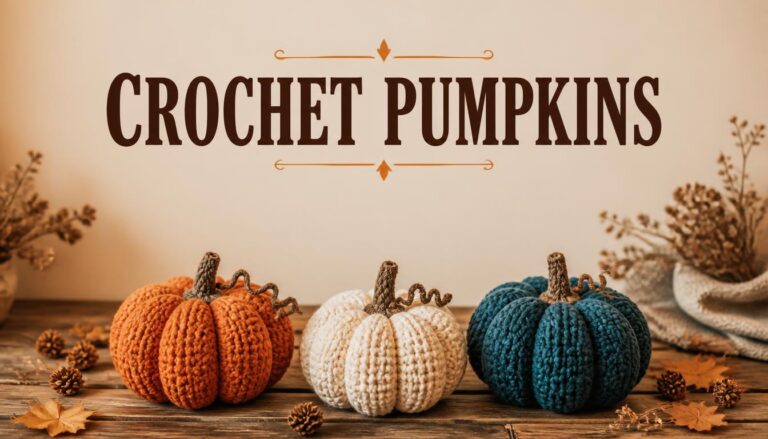
Do you want a bigger version later? In that case, try our full crochet pumpkin pattern next.
Materials for Your Mini Crochet Pumpkin
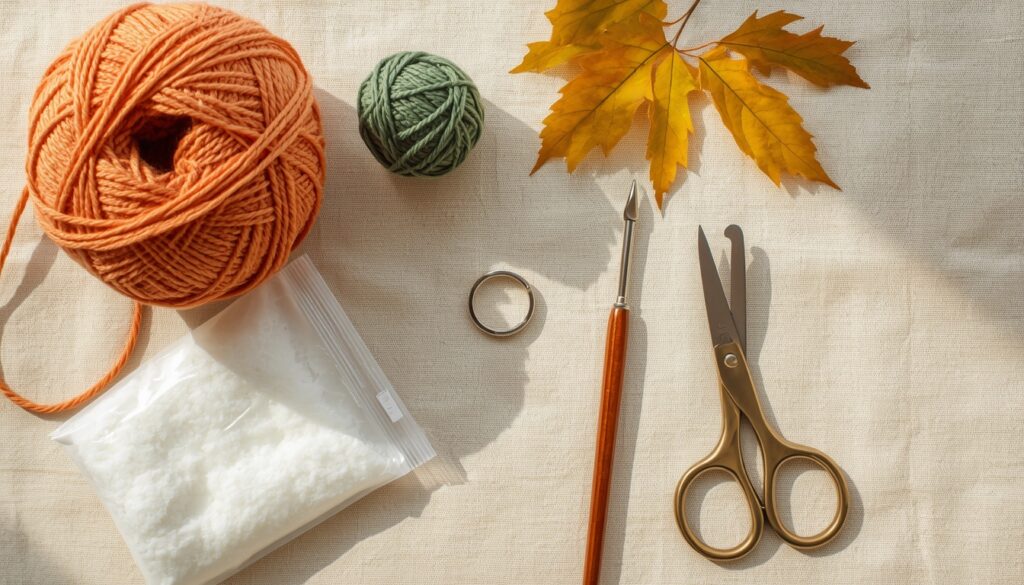
You only need a few basic supplies. Here is the full list:
- Orange yarn: Choose cotton or acrylic, since both hold their shape well.
- Green yarn: Use a small amount, because the stem and leaf are tiny.
- Crochet hook (3 mm): A small hook keeps stitches tight, so the stuffing stays hidden.
- Polyester fiberfill: Add a little, so the pumpkin stays plump.
- Keychain ring or clasp: Attach it last, then give it a gentle tug to test it.
- Yarn needle, scissors and a stitch marker: You need all three, especially for finishing.
Abbreviations (US terms):
- MR: magic ring
- sc: single crochet
- inc: two single crochet in the same stitch
- dec: single crochet decrease
- sl st: slip stitch
- hdc: half double crochet
Crochet Mini Pumpkin Pattern: Step by Step
This small pumpkin crochet pattern uses simple rounds. Work in a spiral and do not join. Also, use a stitch marker to track the start of each round.
With worsted yarn and a 3 mm hook, the finished pumpkin measures about 2 inches (5 cm) wide.
Make the Pumpkin Body
Start with orange yarn. Then follow these rounds:
- Round 1: 6 sc in a MR (6)
- Round 2: inc in each stitch around (12)
- Round 3: (sc, inc) × 6 (18)
- Round 4: (2 sc, inc) × 6 (24)
- Rounds 5–8: sc in each stitch around (24)
- Round 9: (2 sc, dec) × 6 (18)
- Round 10: (sc, dec) × 6 (12)
Now stuff the pumpkin lightly. Next, work the last round.
- Round 11: dec × 6 (6)
Fasten off, then weave the tail through the front loops. After that, pull tight to close the hole.
Shape the Pumpkin Segments
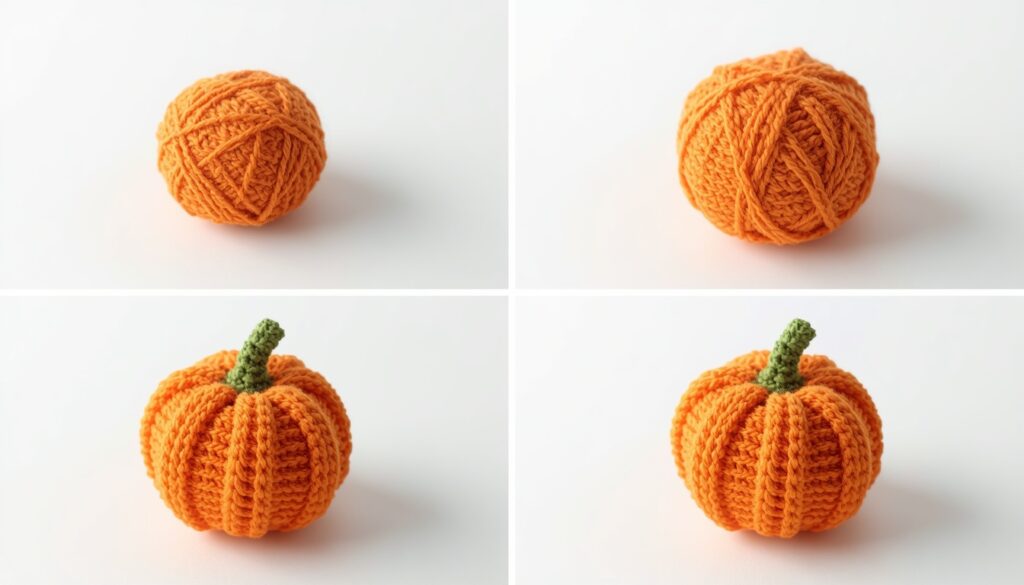
Segments give your amigurumi pumpkin its classic look. First, cut a 20-inch (50 cm) tail of orange yarn. Then thread it onto your needle.
Insert the needle at the bottom center. Next, bring it out at the top center. Wrap the yarn around the outside, then go back down through the bottom.
Repeat this 6 to 8 times. Pull gently each time, because a firm tug creates deeper grooves. Finally, tie off and hide the ends inside.
Add the Stem and Leaf to Your Pumpkin Amigurumi
Switch to green yarn for the stem.
- Round 1: 6 sc in a MR (6)
- Rounds 2–4: sc in each stitch around (6)
Fasten off and leave a long tail. Then sew the stem to the top center of the pumpkin.
For the leaf, chain 6. Starting in the second chain from the hook, work sl st, sc, hdc, sc, sl st. Afterward, sew the leaf next to the stem.
Turn It Into a Keyring
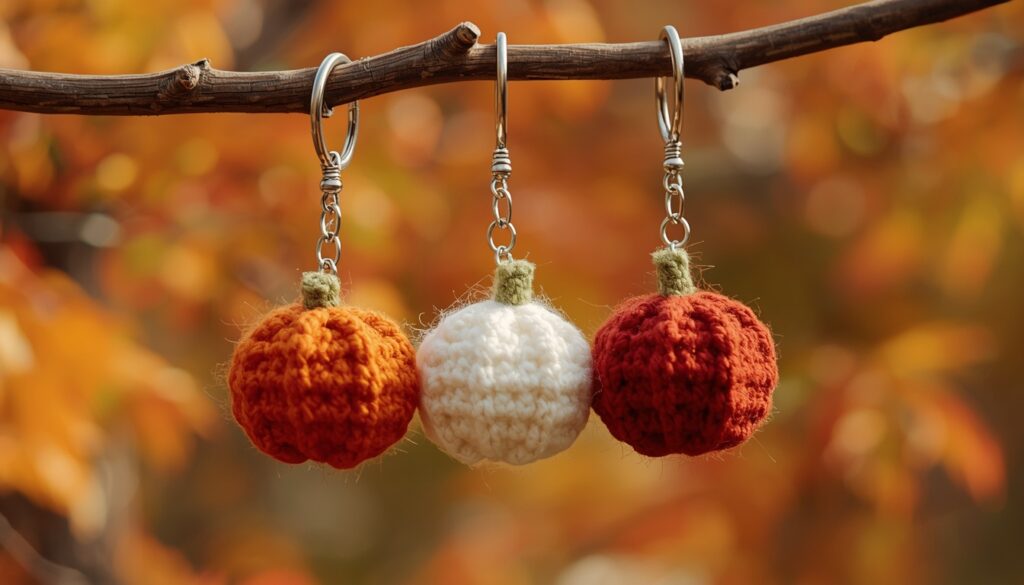
This step turns your crochet mini pumpkin into a real keychain. Cut a 12-inch tail of orange yarn and loop it through the keychain ring. Then sew the ends firmly under the stem.
For extra strength, make a second pass with the yarn. Alternatively, use a jump ring and a lobster clasp instead. As a result, you can swap the pumpkin between bags in seconds.
Tips for a Cute Little Pumpkin
A few small tricks make a big difference. For example, try these ideas:
- Keep your stitches tight, because loose stitches show the fiberfill.
- Use an invisible decrease, so the top looks smooth.
- Stuff firmly, since a plump pumpkin looks more polished.
- Also check the yarn tails, then trim them close at the end.
In addition, test your tension on the first round. If the ring looks wide, go down one hook size.
More Crochet Keychain Ideas
Once you finish one pumpkin, you may want a whole set. Fortunately, the same pattern works in many colors. Try white, pale pink or deep red for a fresh look.
You can also stitch a tiny jack-o’-lantern face with black yarn. Likewise, add a small bow or a few beads for a festive touch. Many makers hang several mini pumpkins on one ring.
If you enjoy quick makes, browse free crochet keychain patterns online. Many designers share crochet keychains free patterns for every season. Therefore, you will never run out of ideas.
Video Tutorials and More Patterns
Some stitches are easier to learn by watching. First, try this video tutorial to see the pumpkin take shape. Then, watch this second video for another way to work the project.
You can also compare designs. The Little Pumpkin Keychain pattern on Ravelry offers a different take. As a result, you can pick the crochet keychain pattern that suits your style.
Frequently Asked Questions
How long does a crochet pumpkin keychain take?
Most makers finish one in 30 to 60 minutes. However, beginners may need a little more time. Once you know the steps, you can make several in one evening.
What yarn is best for a mini crochet pumpkin?
Cotton yarn is a great choice, since it holds its shape well. Acrylic works too. Besides, both come in bright orange shades.
Can beginners make a pumpkin amigurumi?
Yes, they can. This pumpkin amigurumi uses only basic stitches. In fact, it makes a perfect first amigurumi project.
Final Thoughts on Your Pumpkin Keychain
This crochet pumpkin keychain is quick, cute and easy to customize. With just a few supplies, you can make a charming fall accessory. Better yet, you can stitch a whole batch for gifts.
So grab your hook and some orange yarn. Then start your first mini pumpkin today. Don’t forget to check our crochet pumpkin pattern for a bigger version.