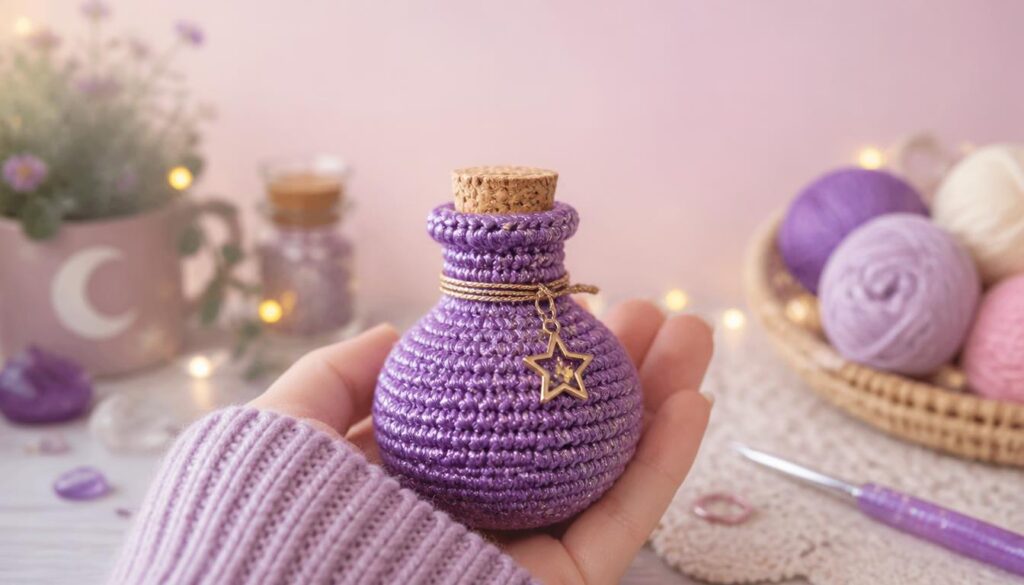
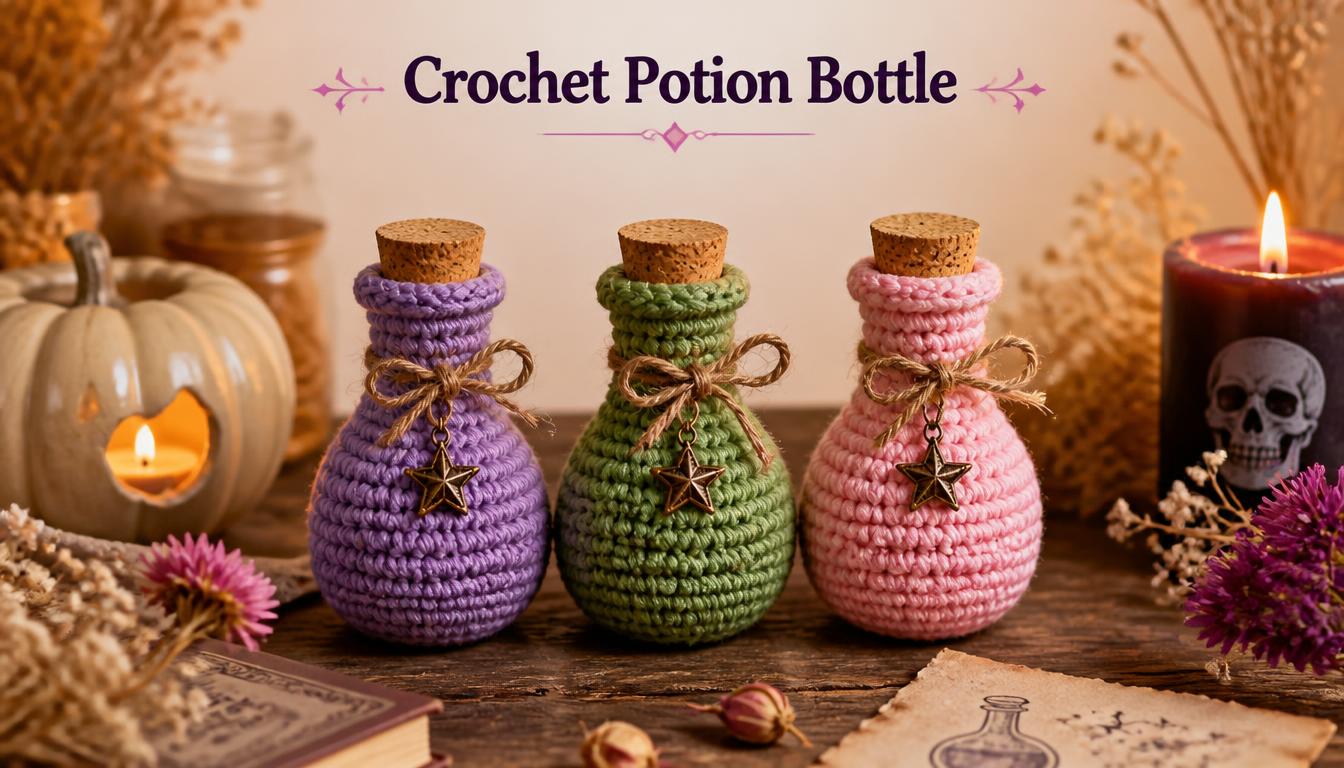
A crochet potion bottle is a tiny project with a big magical feel. It works as a Halloween decoration, a fantasy prop, or a sweet handmade gift. Best of all, you can finish one in a single evening. In this guide, you will learn how to make a potion bottle step by step. You will also find ideas for dice bags and water bottle holders, plus links to helpful free patterns.
Why You’ll Love This Crochet Potion Bottle
First, this project is beginner friendly. You only need basic stitches, such as single crochet and decreases. Next, it works up fast, so it is perfect for last-minute gifts. Also, it uses small amounts of yarn. As a result, it is a great way to use up your scraps.
Plus, the finished bottle looks adorable in any color. Make it glittery for a fairy tale shelf. Choose dark shades for a witchy Halloween display. Either way, everyone will ask where you bought it.
What You Need to Get Started
Gather your supplies before you begin. That way, you can crochet without stopping.
- Yarn: Cotton or acrylic worsted weight works well. For example, pick one bright color for the bottle and brown for the cork.
- Hook: A 3.5 mm hook gives a tight, neat fabric. Because the stitches stay close, the stuffing will not peek through.
- Stuffing: Polyester fiberfill keeps the bottle firm. However, you can skip it if you plan to make a bag.
- Tools: You will need a yarn needle, scissors, and a stitch marker.
- Extras: Felt, beads, or tiny charms add a fun finishing touch.
How to Make a Potion Bottle Step by Step
Wondering how to make a potion bottle without a complicated pattern? Follow these simple stages. First, you crochet the round body. Then, you shape the narrow neck. Finally, you add a cork on top.
Keep in mind that every crocheter has a different tension. So, test the size as you go. If the bottle looks too small, simply add one more round of increases.
Basic Potion Bottle Crochet Pattern
This quick guide gives you a simple potion bottle crochet pattern. Use it as a starting point. Afterward, adjust the height or width to match your own style.
Crochet the Bottle Body
Work in a continuous spiral and mark the first stitch of each round.
- Round 1: Make a magic ring and work 6 single crochet (sc) into it.
- Round 2: Increase in every stitch. You now have 12 stitches.
- Round 3: Repeat (sc 1, increase) around. This gives you 18 stitches.
- Round 4: Repeat (sc 2, increase) around. Now you have 24 stitches.
- Rounds 5 to 14: Work 1 sc in each stitch around. Meanwhile, keep your tension even.
Shape the Neck and Cork
Next, start shaping the neck. Add stuffing before the opening gets too small.
- Round 15: Repeat (sc 2, decrease) around to get 18 stitches.
- Round 16: Repeat (sc 1, decrease) around to get 12 stitches.
- Rounds 17 to 19: Work 1 sc in each stitch around. As a result, you get a neat narrow neck.
- Cork: Make a magic ring with brown yarn and work 6 sc. Then increase to 12 stitches, work 2 plain rounds, and close. After that, sew the cork onto the top.
Finally, weave in all your ends. Your bottle is ready for decoration.
Crochet Potion Bottle Dice Bag for Game Night
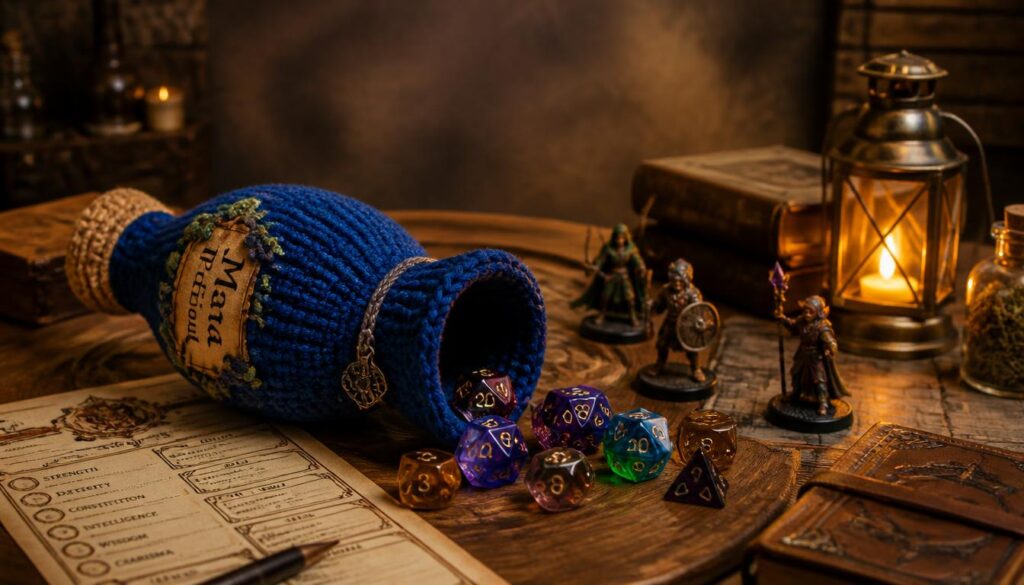
Do you play tabletop games? Then you will love a crochet potion bottle dice bag. It holds your dice safely and looks fantastic on the game table.
Here is how to turn the basic shape into a bag. First, skip the stuffing. Next, leave the cork off. Instead, make a row of eyelets around the neck and thread a drawstring through them. Finally, crochet a small cap that sits on the top to hide the cord.
Moreover, you can match the bag to your character. For instance, choose red for a healing potion or blue for a mana potion. A potion bottle dice bag crochet pattern also makes a clever gift for your gaming friends.
Crochet Water Bottle Holder Idea
Want something more practical? You can adapt the same idea into a crochet water bottle holder. The shape suits a drinking bottle beautifully, and it keeps your hands comfortable on cold days.
First, measure your bottle. Then, crochet a tube that fits snugly around the base. Next, shape the top to look like a potion neck. Add a long strap so you can carry it over your shoulder. This makes a fun water bottle carrier crochet project for school, hiking, or festival days.
If you want a ready guide, search for a crochet water bottle holder pattern and compare sizes. In addition, make sure your yarn is sturdy. Cotton holds its shape much better than soft acrylic.
Colors and Details to Try
Color changes the whole mood of your potion. Therefore, plan your palette first. Here are a few fun ideas:
- Love potion: Pink yarn with tiny red hearts.
- Poison: Bright green yarn with a skull button.
- Night magic: Dark purple yarn with silver stars.
- Healing elixir: Soft red with a white cross.
You can also add embroidered labels. For example, stitch the word “Magic” in white thread. Besides that, a tiny bat or eyeball makes a spooky extra. If you love creepy details, check out our guide to a crochet eyeball amigurumi and add one inside your bottle.
Free Crochet Potion Bottle Patterns to Explore
Sometimes you want a full written pattern with photos. Luckily, talented designers share lots of options online. Here are three great places to start:
- Cutie Pie Crochet shares amigurumi potion bottles with cute details.
- Curious Papaya offers a free crochet potion bottle pattern with clear steps.
- Yarn Gems has a cute magic potion amigurumi free pattern.
Each design has its own look. Because of that, try two or three and see which one you like best. Also, remember to credit the designer if you share your finished photos online.
More Halloween Crochet Patterns to Make Next
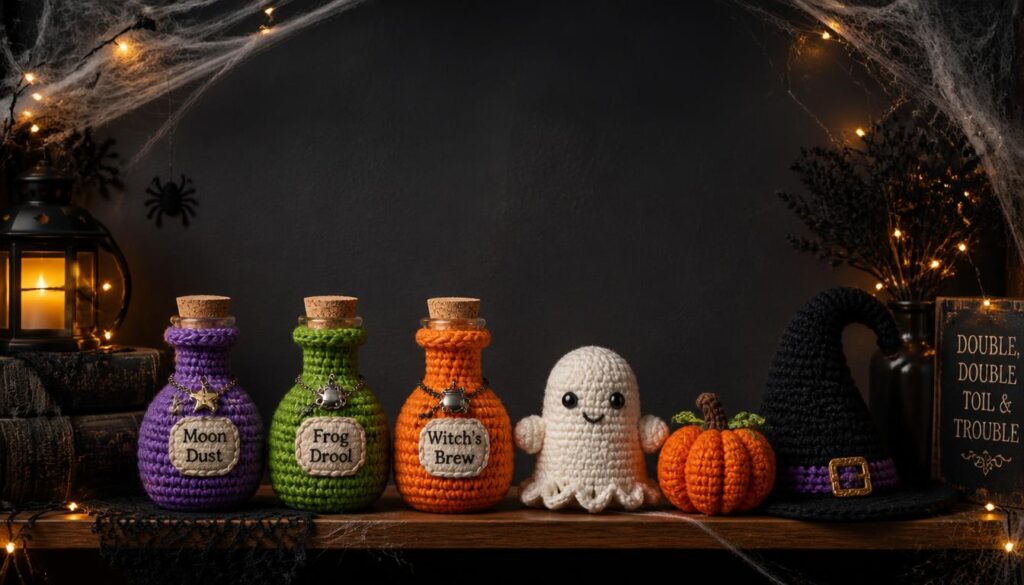
Once you finish your first bottle, you will want more spooky makes. After all, Halloween crochet patterns are fun and quick. Try a set of potions in different sizes. Then, add a tiny witch hat, a ghost, or a pumpkin to the group.
Moreover, many Halloween patterns work well as gifts. You can pack a few small pieces in a basket for a friend. As a result, you create a handmade treat that beats any store-bought candy.
Tips for a Neat Finish
A few small habits make a big difference. Follow these quick tips:
- Use a smaller hook. This keeps the fabric tight, so the stuffing stays hidden.
- Stuff firmly. However, do not overfill, or the stitches will stretch.
- Close the cork well. Then, sew it on with a few strong stitches.
- Block lightly if needed. Afterward, shape the neck with your fingers.
Frequently Asked Questions
How long does a crochet potion bottle take?
Most people finish one in one to two hours. Of course, it depends on your speed and the details you add.
Is a crochet potion bottle good for beginners?
Yes, it is. You only need basic stitches. In fact, it is a great first amigurumi project.
Can I use thicker yarn?
Absolutely. However, the bottle will come out bigger. So, use a larger hook to match the yarn.
Can I wash the finished bottle?
Yes, you can hand wash it gently. After that, let it air dry flat. If you added felt or beads, spot clean instead.
Final Thoughts
A crochet potion bottle is a charming and quick project for any skill level. You can keep it simple, turn it into a dice bag, or adapt it as a water bottle holder. Best of all, you can change the colors to match any mood or season.
So, grab your hook and a few scraps of yarn. Start with the basic pattern above, then explore the free links for more ideas. Soon, you will have a whole shelf of magical bottles. Happy crocheting!