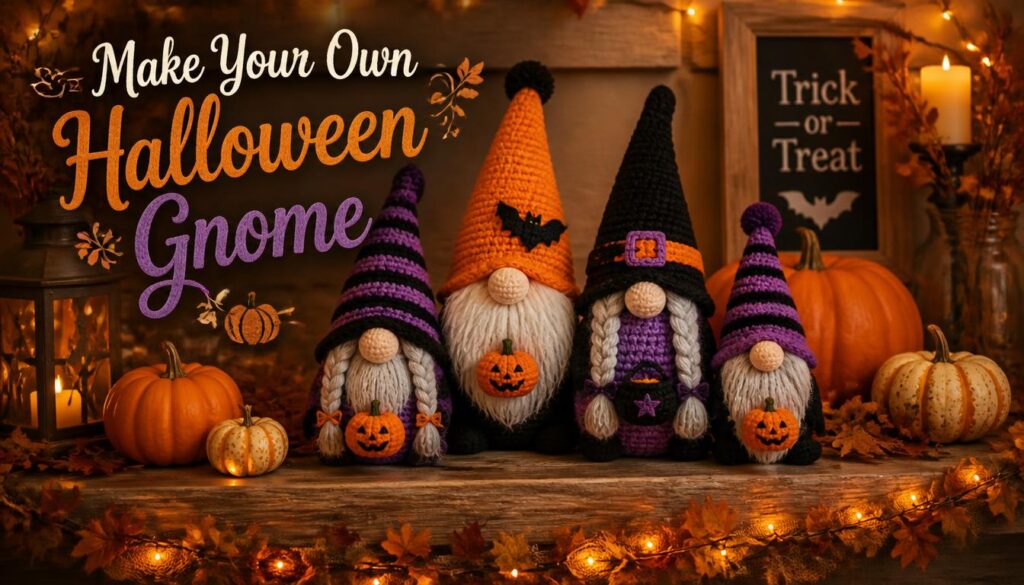
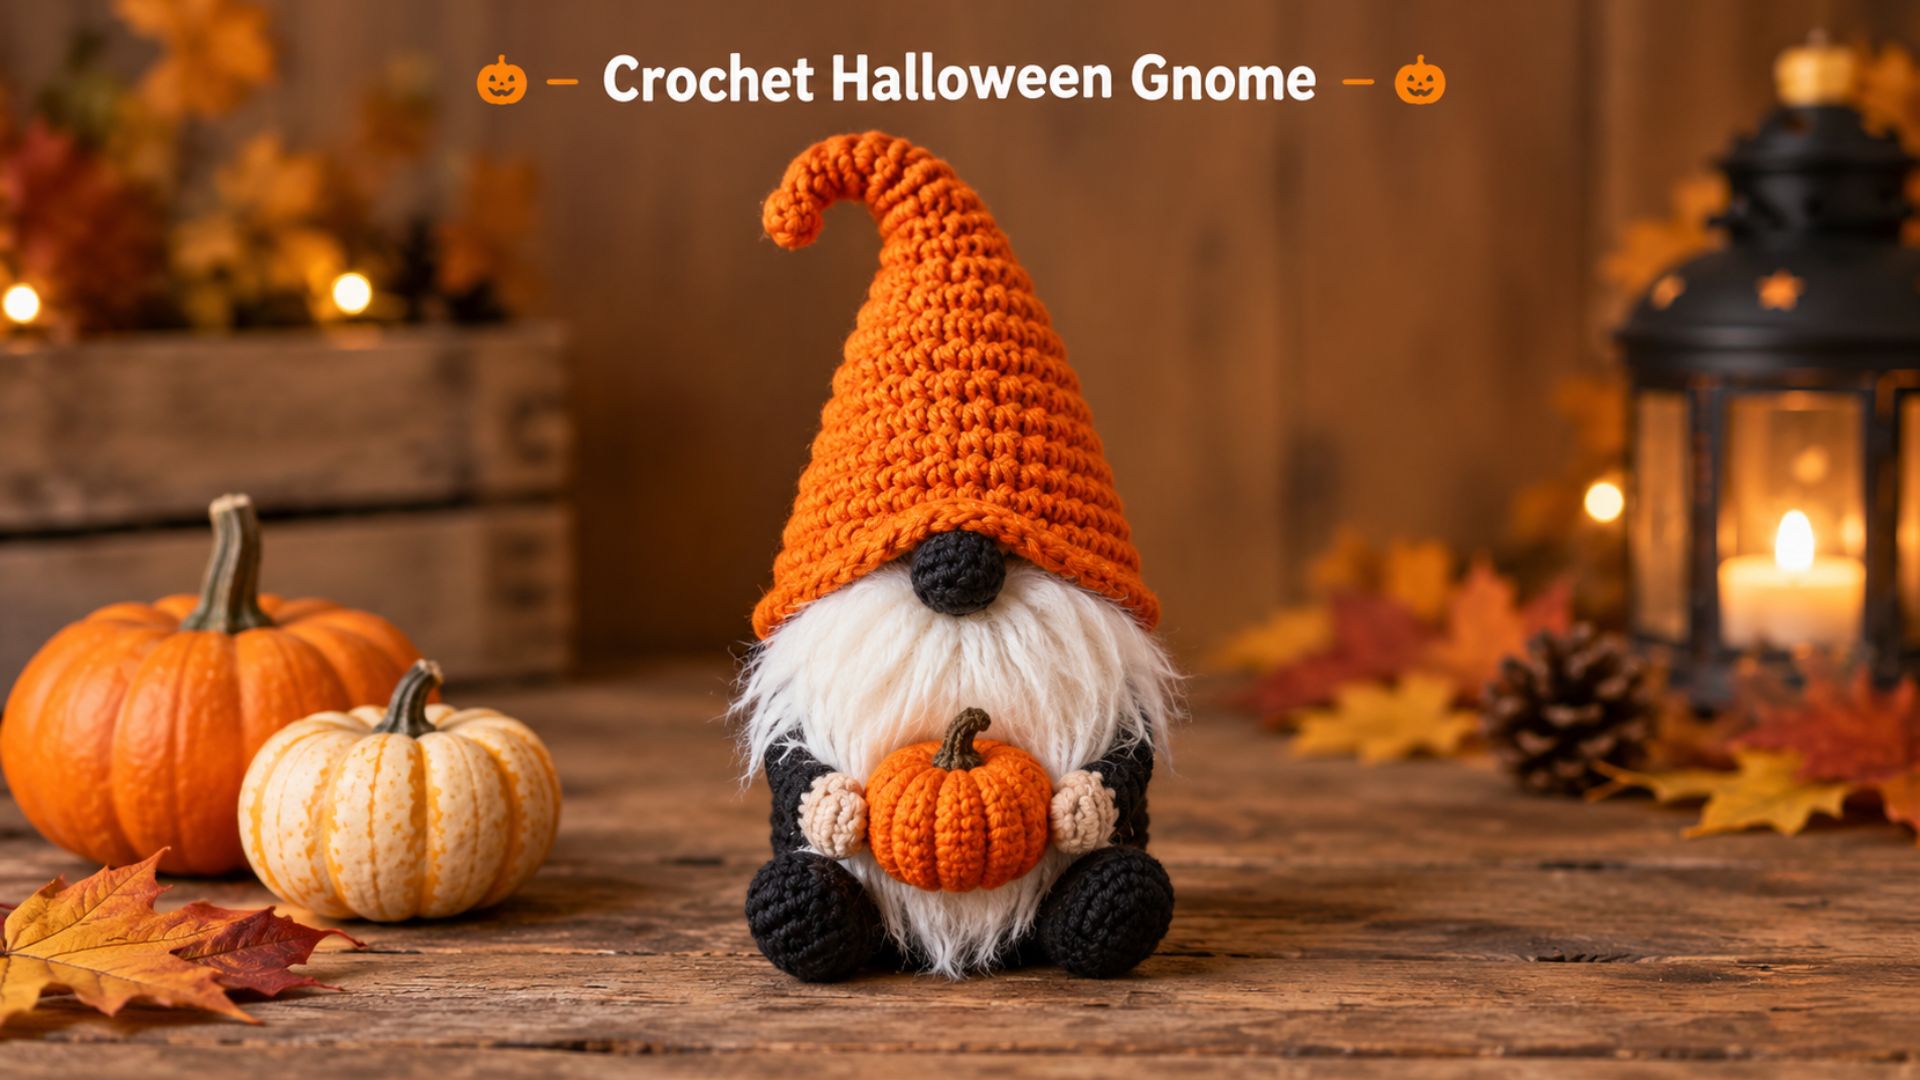
Fall is here, so cozy crafts are back. A crochet halloween gnome is one of the cutest projects you can make this season. Best of all, it works up fast and uses very little yarn.
In this guide, you will find helpful tips and the best free patterns. In addition, you will get fun ideas to make your gnomes truly spooky. Whether you are a beginner or a pro, there is a gnome for you.
Why You Will Love a Crochet Halloween Gnome
First of all, gnomes are simple. Most of them use basic shapes like a cone and a ball. Therefore, you can finish one in an afternoon.
Next, they are very flexible. You can change the hat, the beard, or the colors. As a result, every gnome looks unique.
Finally, they make great gifts. Friends and family love handmade décor. Plus, they sell well at fall craft fairs.
Best Free Patterns to Start With
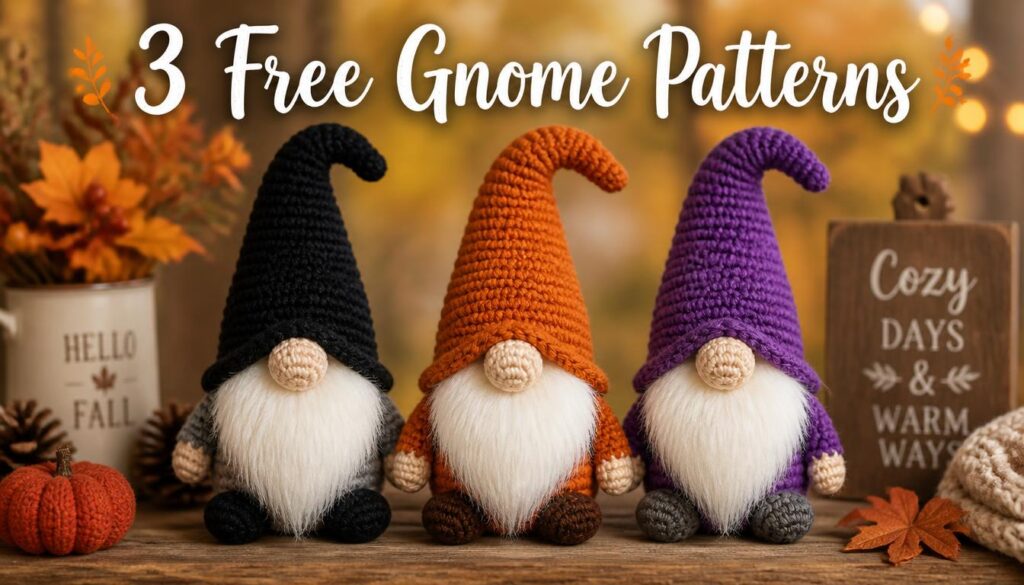
Now, let’s look at some great free patterns. Each one gives you clear steps and a cute result.
A Simple Gnome for Beginners
If you are new to amigurumi, start with an easy design. For example, Jen Hayes Creations shares a beginner crochet gnome that uses only basic stitches. In addition, the photos make each step easy to follow.
A Classic Amigurumi Gnome
Do you want a more detailed look? Then try the amigurumi gnome free crochet pattern from Winding Road Crochet. This Amigurumi Gnome Free Crochet Pattern has a round body and a soft beard. Afterward, you can swap the hat color to make it spooky.
A Seasonal Gnome with Winter Charm
Passionate Crafter offers a lovely winter gnome pattern. It is made for winter, but the shape works well for fall too. Simply change the colors, and you have a perfect halloween gnome crochet pattern free of charge.
Supplies You Need for Your Gnome
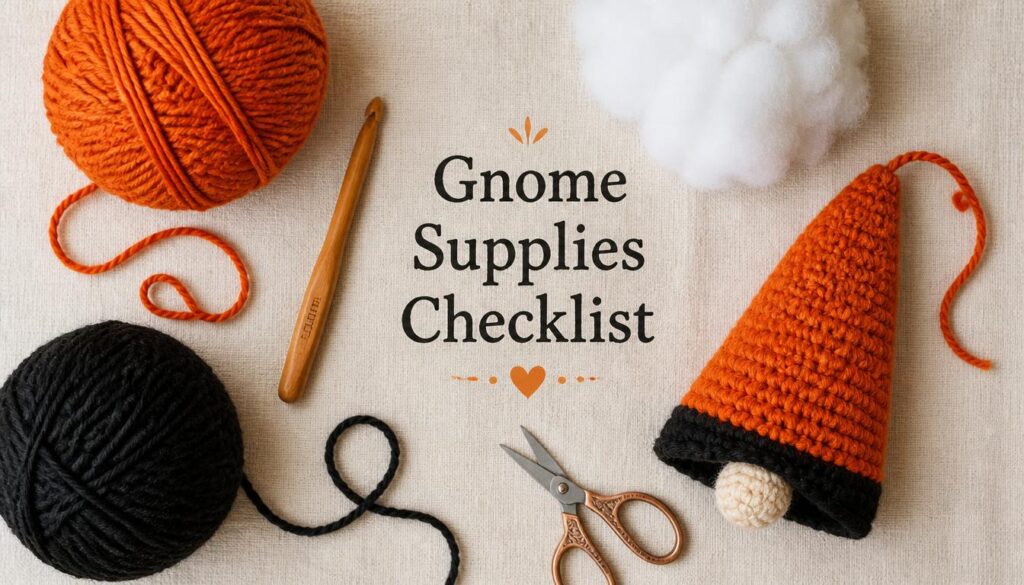
You do not need many tools. In fact, most crocheters already own everything on this list.
- Yarn: First, choose worsted weight cotton or acrylic. For example, use orange, black, purple, and white.
- Hook: Next, grab a 3 mm to 3.5 mm hook. Tight stitches also keep the stuffing from showing.
- Stuffing: Likewise, polyester fiberfill gives a soft, full shape.
- Safety eyes or beads: However, these are optional. Many gnomes have no eyes at all.
- Small extras: Finally, add felt, buttons, or tiny pom-poms. Moreover, a bit of glue helps hold them in place.
How to Crochet a Halloween Gnome Step by Step
Even though every pattern is different, the basic steps are almost the same. First, you make the body. Then, you add the hat and the beard.
- Start with the body. To begin, work in the round from the bottom up. Also, stuff it lightly as you go.
- Make the nose. Next, crochet a small ball. After that, sew it to the middle of the body.
- Add the beard. Then, use white yarn and short loops. In addition, brush the strands for a fluffy look.
- Crochet the hat. Now, work a cone shape in your spooky color. Meanwhile, make sure the hat covers the top of the nose.
- Join everything. Finally, sew the hat to the body. Last, hide all loose ends.
Spooky Ideas to Style Your Gnomes
A plain gnome is cute. However, a few small details make it perfect for October.
Fun Themes to Try
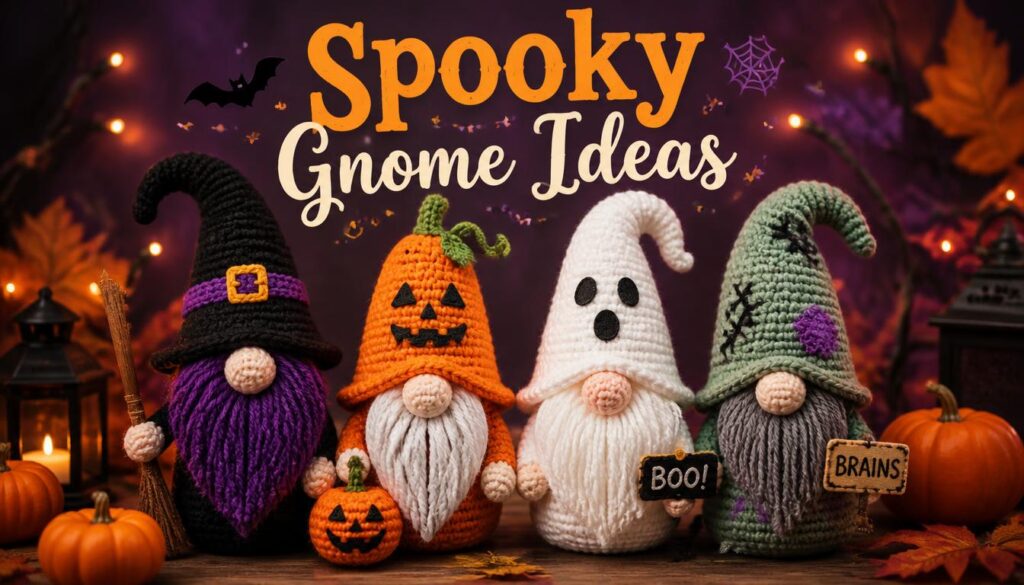
- Witch gnome: For instance, use a black hat with a purple band. Then, add a tiny felt buckle.
- Pumpkin gnome: Likewise, make the hat orange with a little green stem on top.
- Ghost gnome: Alternatively, use white yarn and a gray beard. After that, add small black eyes.
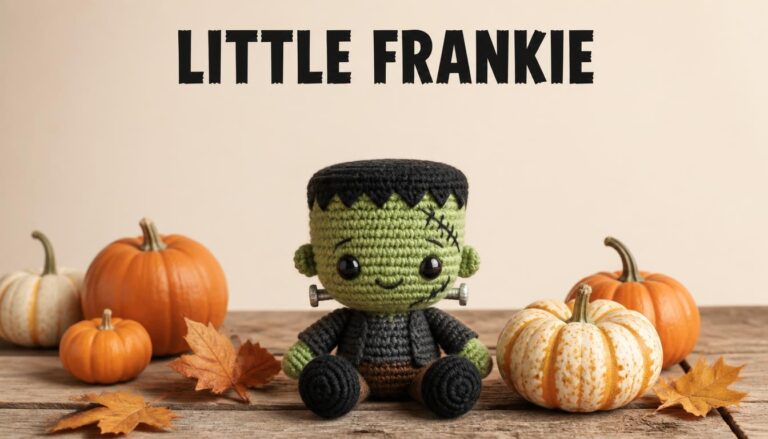
- Zombie gnome: Instead, choose a soft green body and stitched details. Also, check out this crochet zombie amigurumi for extra inspiration.
Small Details That Make a Big Difference
Add a tiny bat, a spider, or a candy corn to the hat. Similarly, a little ribbon or a button gives your gnome extra charm. Above all, keep the details simple. That way, your gnome stays cute instead of messy.
Where to Display Your Crochet Gnomes
Once you finish, show them off! In fact, gnomes look great almost anywhere.
- On a mantel: For example, pair them with fairy lights.
- On the entry table: Likewise, place them beside a bowl of candy.
- In a glass jar: Also, add fake spider webs for a creepy touch.
- On a porch step: Finally, tuck them in a basket with mini pumpkins.
Besides that, you can hang a small gnome on your door as a wreath piece. As a result, it makes a warm welcome for trick-or-treaters.
More Gnome Patterns for Every Season
Once you learn the basic gnome shape, you can make one for every holiday. For example, a gnome can easily become a crochet pattern snowman look in winter. Just switch to white yarn, add a carrot nose, and finish with a scarf.
Likewise, you can find many free crochet gnome patterns online. In fact, many crochet gnomes patterns free of charge use the same base. As a result, one skill unlocks dozens of cute projects.
Tips for a Neat and Cute Result
A few small habits will improve your work. Therefore, keep these tips in mind.
- Use a stitch marker. For instance, it helps you keep track of each round.
- Stuff firmly. In turn, a firm gnome stands up better.
- Choose a tight tension. As a result, the fiberfill stays hidden.
- Check the hat size. Otherwise, it may slip off the head.
- Be patient with the beard. Although it takes a little time, it is worth it.
Final Thoughts on Your Crochet Halloween Gnome
A crochet halloween gnome is quick, cheap, and full of charm. Therefore, you can start with a free pattern today and finish it before dinner. Then, make a whole spooky family for your home.
So, grab your hook and pick your favorite colors. Which gnome will you make first? Afterward, share your project and let us know how it turned out!