Why You Will Love a Crochet Grim Reaper
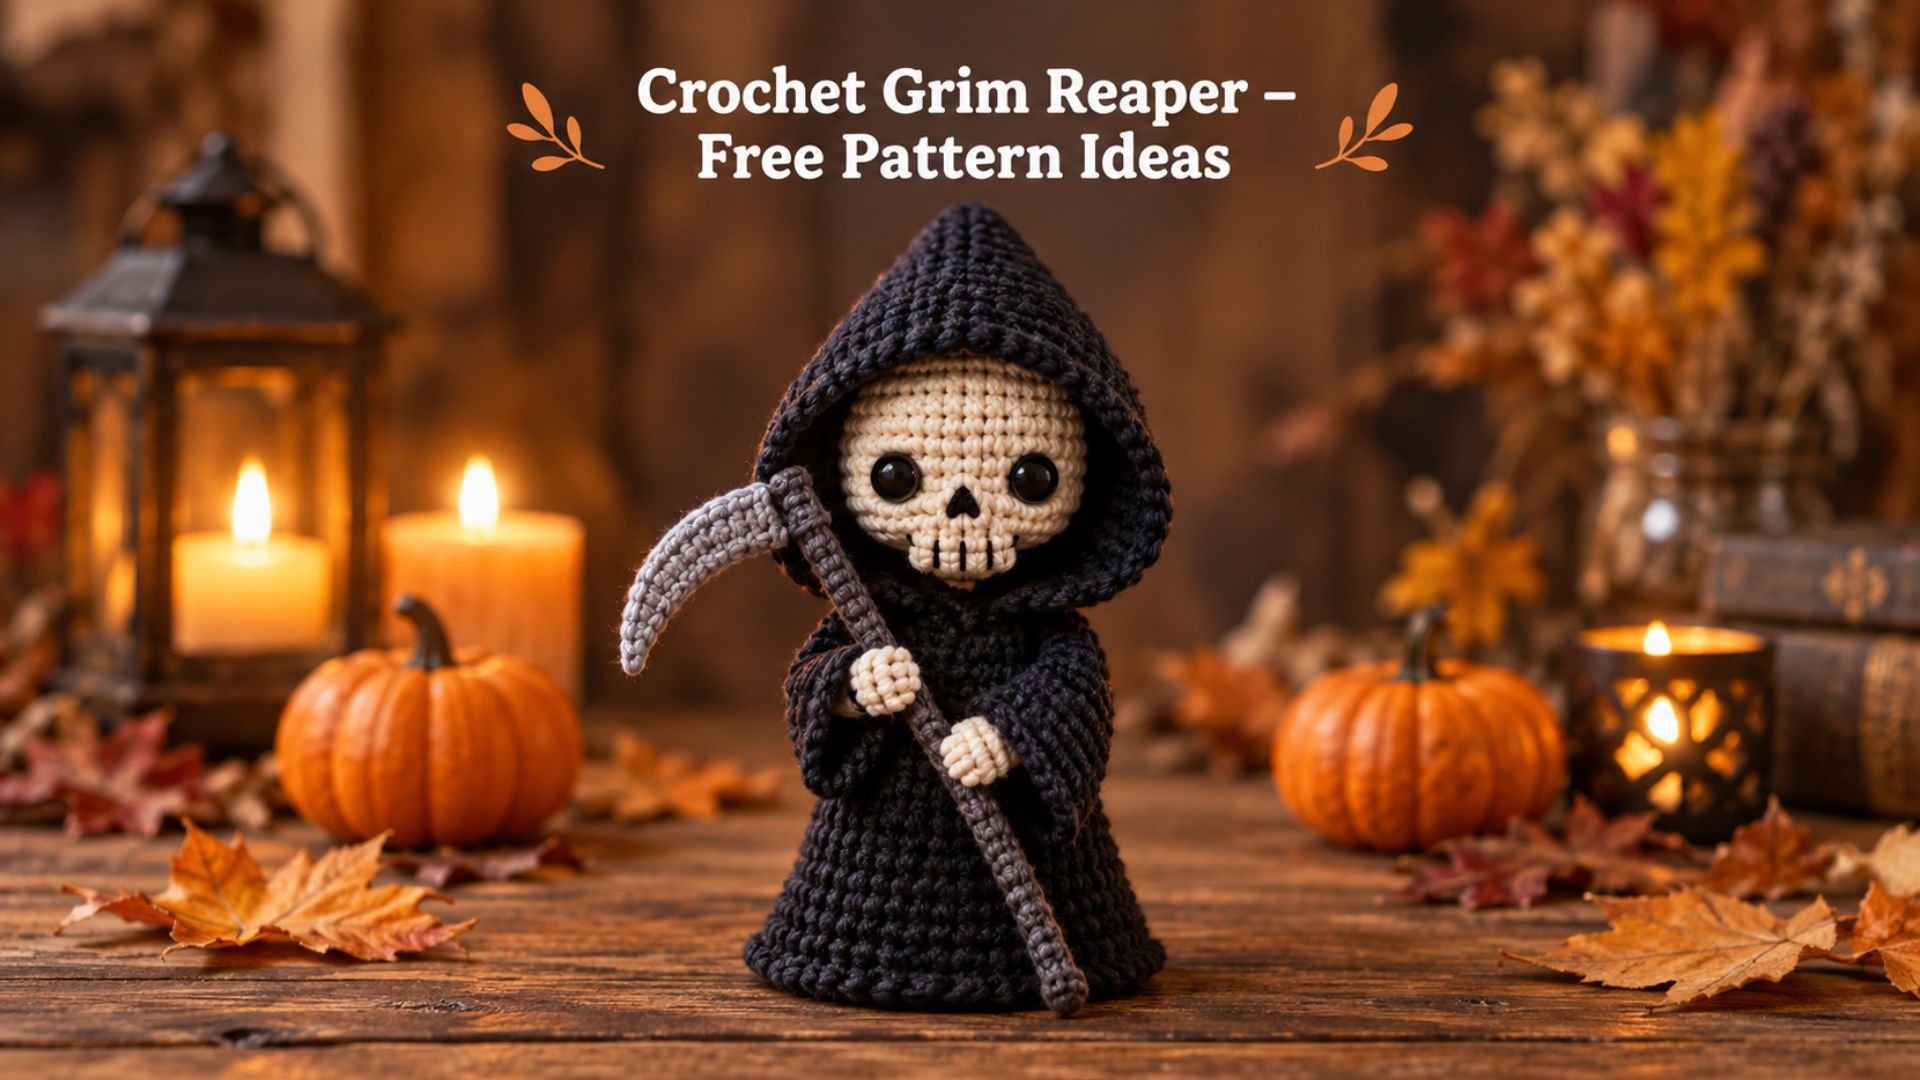
A crochet grim reaper is the perfect mix of spooky and cute. At first glance, it looks eerie. However, the chubby shape and tiny scythe make it surprisingly sweet. In addition, it works up fast, so you can finish one in a weekend.
Are you looking for a grim reaper crochet pattern free of charge? Luckily, you have plenty of choices online. In this guide, you will find the best places to look. Besides that, you will learn how to make a grim reaper step by step.
Do you also like Halloween monsters? Then check out our crochet mummy amigurumi guide. Together, the two projects look great on a shelf.
What Is Grimm Crochet?
Some crafters search for “grimm crochet” when they want dark, fairy-tale style toys. For example, this style often includes skulls, hoods, and creepy-cute faces. Even so, the designs stay soft and cuddly. Therefore, a grim reaper fits the theme well.
Most patterns use basic amigurumi techniques. First, you crochet in spirals. Then, you stuff each piece and sew the parts together. As a result, even beginners can try this project.
Supplies You Need
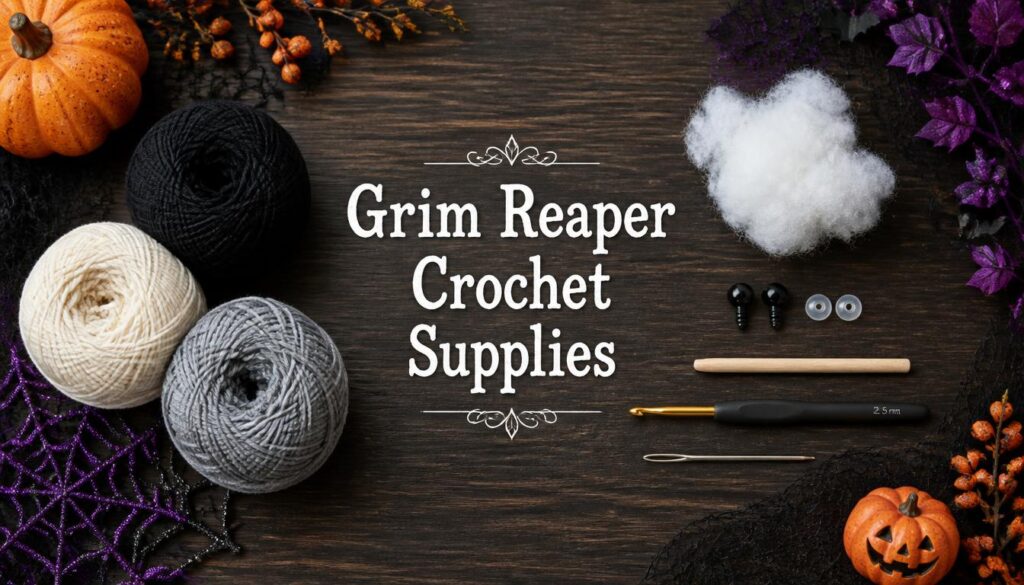
Before you start, gather a few simple items. Most of them are probably in your stash already.
- Black yarn for the robe and hood
- Cream or white yarn for the skull face, since it gives strong contrast
- Gray or silver yarn for the scythe blade
- A 2.5 mm to 3.5 mm hook, because a smaller hook keeps the stuffing hidden
- Safety eyes or black felt for the eye sockets
- Polyester fiberfill to give the body its shape
- A thin wooden dowel or pipe cleaner for the scythe handle
- A yarn needle and stitch markers to keep your rounds neat
Cotton yarn gives crisp stitches. On the other hand, soft acrylic gives a fluffier look. Either way, your reaper will turn out cute.
How to Make a Grim Reaper Step by Step
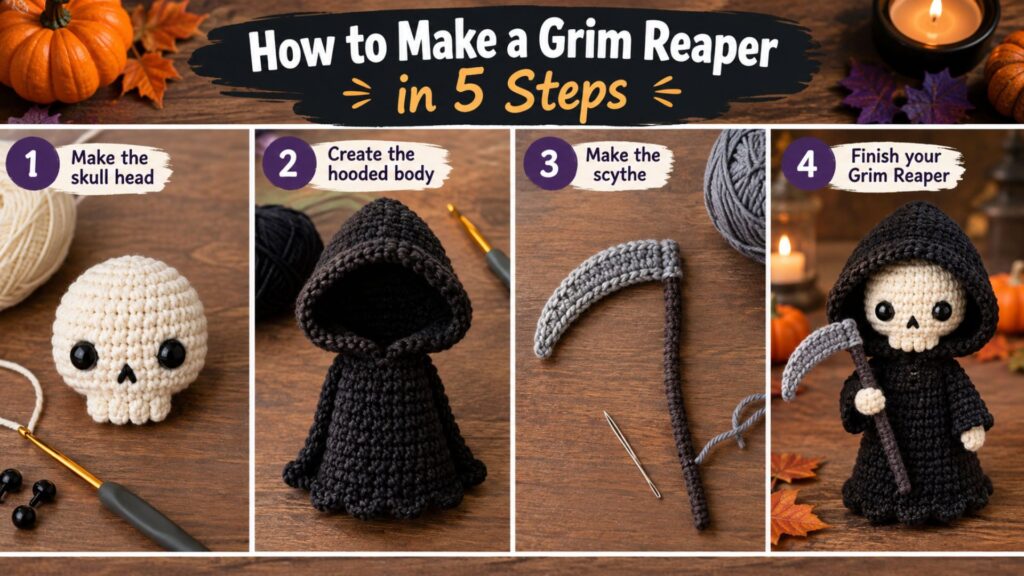
Now it is time to build your toy. This simple method works with most patterns. Moreover, you can change the sizes to make your reaper bigger or smaller.
Step 1: Crochet the Skull Head
To begin, make a magic ring in cream yarn. Next, increase each round until the head looks round. After that, work a few even rounds. Finally, decrease, stuff the head, and close it.
Step 2: Make the Hooded Body
Next, switch to black yarn. Since the robe is wide at the bottom, add a few extra increase rounds there. Then, stuff the body firmly. Consequently, your grim reaper will stand up straight.
Step 3: Add the Hood
The hood gives your reaper its spooky look. First, crochet a flat oval in black yarn. Then, fold it and sew the edges together. Afterward, place it over the head and stitch it in place.
Step 4: Create the Scythe
For the handle, wrap gray yarn around a dowel. Meanwhile, crochet a small curved blade. Next, sew the blade to the top of the handle. In the end, tuck the scythe into the reaper’s tiny hands.
Step 5: Finish the Face and Details
Lastly, add the eyes and a stitched smile or teeth. Then, embroider small details with black thread. Overall, these little touches bring your toy to life.
Where to Find a Free Grim Reaper Crochet Pattern
You do not have to design everything yourself. In fact, several makers share a crochet grim reaper free pattern on their sites. Here are three good places to start.
- Virkadia offers a grim reaper pocket pet free crochet pattern. Since it is tiny, it works well for beginners.
- Yeezhee shares a collection of Halloween grim reaper free crochet patterns. Therefore, you can compare several styles in one spot.
- Scribd hosts a grim reaper crochet document that you can read online. However, you may need an account to view it.
Always read the full pattern before you begin. Likewise, check the terms of use if you plan to sell your finished toys.
Crochet Grim Reaper Pattern Variations
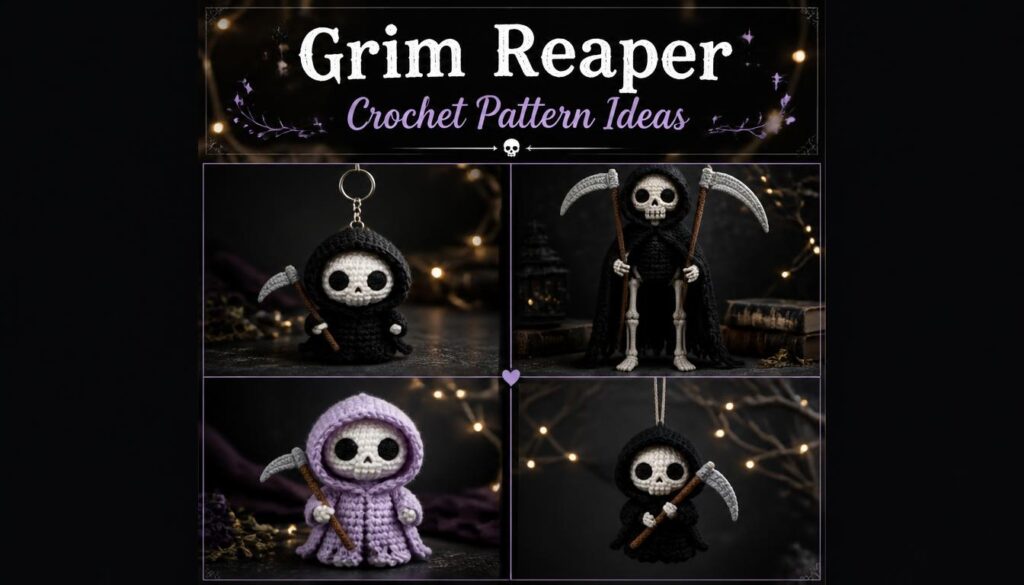
Once you know the basics, you can change the design in many ways. For example, try these fun ideas.
- Pocket pet size: Use thin yarn and a small hook, so the toy becomes a keychain.
- Grim reaper full body: Add arms, legs, and bony hands. As a result, you get a more detailed figure.
- Glow-in-the-dark skull: Use special yarn, because it gives a ghostly glow at night.
- Pastel reaper: Choose soft purple or mint yarn for a cute twist.
- Hanging decoration: Add a loop on the hood. Then, hang it on your Halloween tree.
Because each idea uses the same core shapes, you can mix and match them easily.
Tips for a Neat and Spooky Finish
Small tricks can make a big difference. Try these tips to polish your work.
- Use stitch markers. First of all, they help you track each round.
- Stuff firmly. Otherwise, the body may sag over time.
- Choose a smaller hook. Thus, the stuffing will not show through.
- Sew with care. Pin each piece first, and then stitch it on.
- Test the scythe. Above all, make sure it stays secure if kids will play with it.
For safety, skip plastic eyes on toys for young children. Instead, embroider the eyes with thread.
Fun Ways to Use Your Finished Reaper
Your new friend can do much more than sit on a shelf. For instance, you can use it in several creative ways.
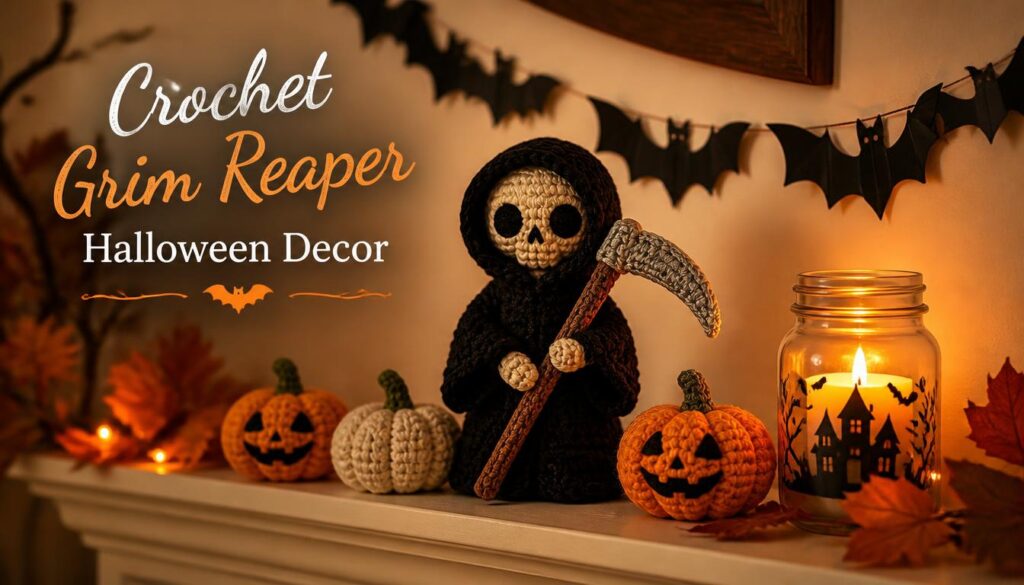
- Place it on your mantel as a Halloween decoration.
- Give it to a friend who loves spooky crafts, since it makes a unique gift.
- Attach it to a bag as a charm.
- Sell it at a craft fair, as long as your pattern allows it.
- Display it next to other Halloween amigurumi. In this way, you create a themed set.
Final Thoughts
A crochet grim reaper makes a fun and spooky project for this season. It uses simple stitches, basic supplies, and a little creativity. Moreover, free patterns are easy to find, so you can start today.
To sum up, pick your favorite pattern and grab your black yarn. Soon, you will have a charming little reaper ready to guard your Halloween display. Happy crocheting!