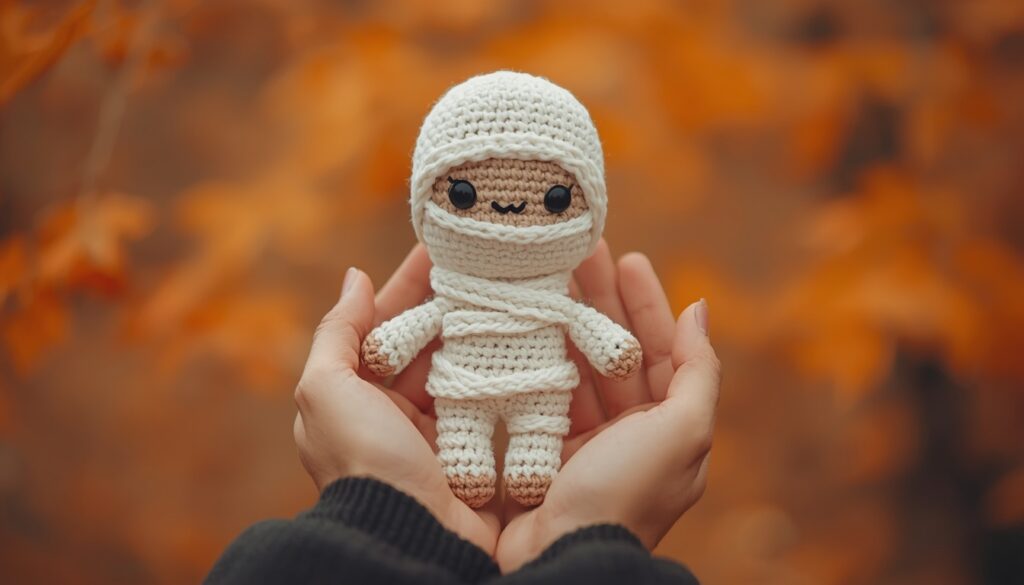
Halloween is here, and a crochet mummy amigurumi is the perfect project to match the season. It is small, quick to make, and full of personality. Better yet, you can finish one in a single afternoon. In this guide, you will learn how to plan your crochet mummy, which materials to pick, and where to find the best free amigurumi patterns online.
Whether you are new to amigurumi crochet or you have stitched dozens of toys, this little mummy is a joy to make. So, let’s wrap it up!
Why Everyone Loves This Spooky Little Toy
First of all, mummies are spooky, but they are also adorable in yarn. Their round heads, wrapped bodies, and big eyes make them friendly instead of scary. As a result, kids love them, and adults enjoy them as seasonal decor.
Moreover, this project is very beginner friendly. Most crochet patterns for mummies use basic stitches such as single crochet, increases, and decreases. In addition, the shape is simple, so you can focus on the fun parts, like the bandages and the face.
Here are a few more reasons to love it:
- It works up fast with small amounts of yarn.
- It makes a great gift, ornament, or keychain.
- It pairs well with other Halloween makes.
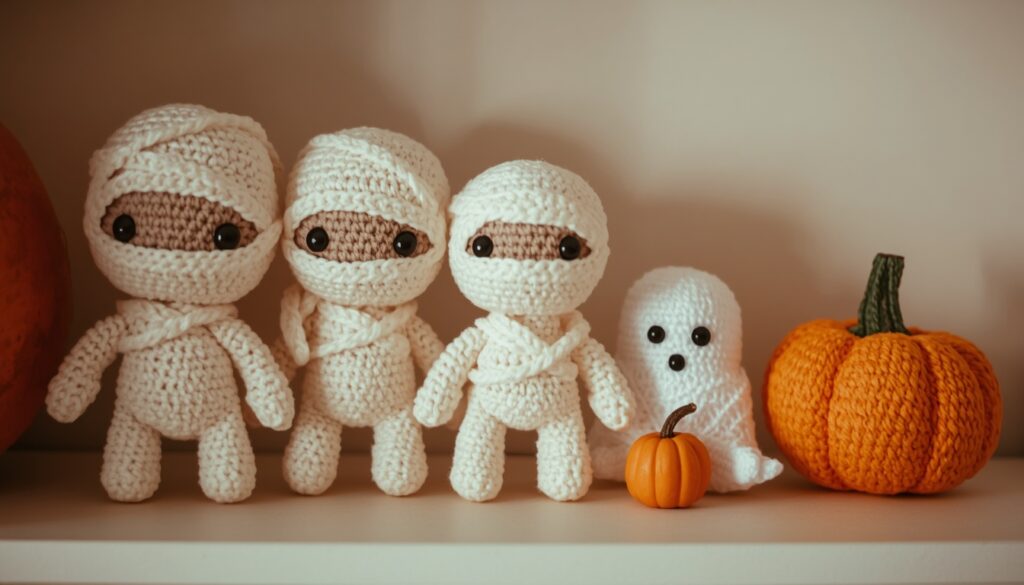
Crochet Mummy Amigurumi Supplies to Gather
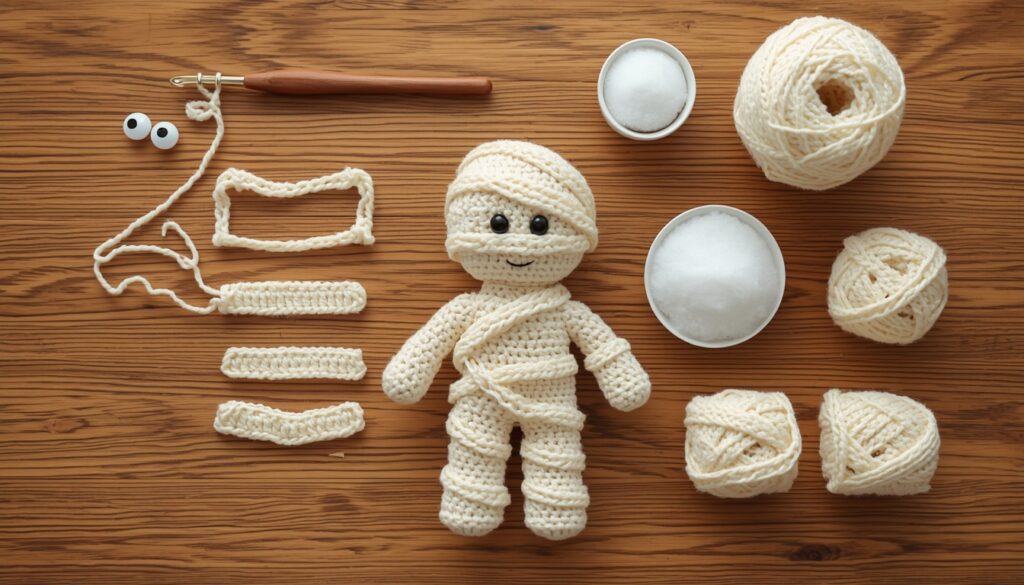
You do not need much to begin. Gather these supplies first, and you will be ready in minutes.
- Yarn: Cream, off-white, or light gray cotton yarn works best. Choose a smooth yarn so your stitches stay neat.
- Hook: Use a hook one or two sizes smaller than the yarn label suggests. This keeps the stuffing from showing.
- Safety eyes: Pick 6 mm or 8 mm eyes for a cute look. However, you can embroider the eyes if the toy is for a baby.
- Fiberfill: Stuff firmly so your mummy keeps its shape.
- Yarn needle and stitch markers: These help you sew and count rounds.
Also, think about a second color for fun details. For example, a tiny pink cheek or a green bandage adds a playful touch.
Easy Steps to Make Your Crochet Mummy
Most designs follow the same simple plan. Once you know it, you can adapt almost any crochet amigurumi pattern.
Step 1: Shape the Head and Body
Start with a magic ring and work in rounds. Then increase evenly until the head reaches the size you want. After that, decrease slightly to form a neck. Next, continue with the body. Stuff as you go, and close the piece with a neat finish.
Step 2: Wrap On the Bandages
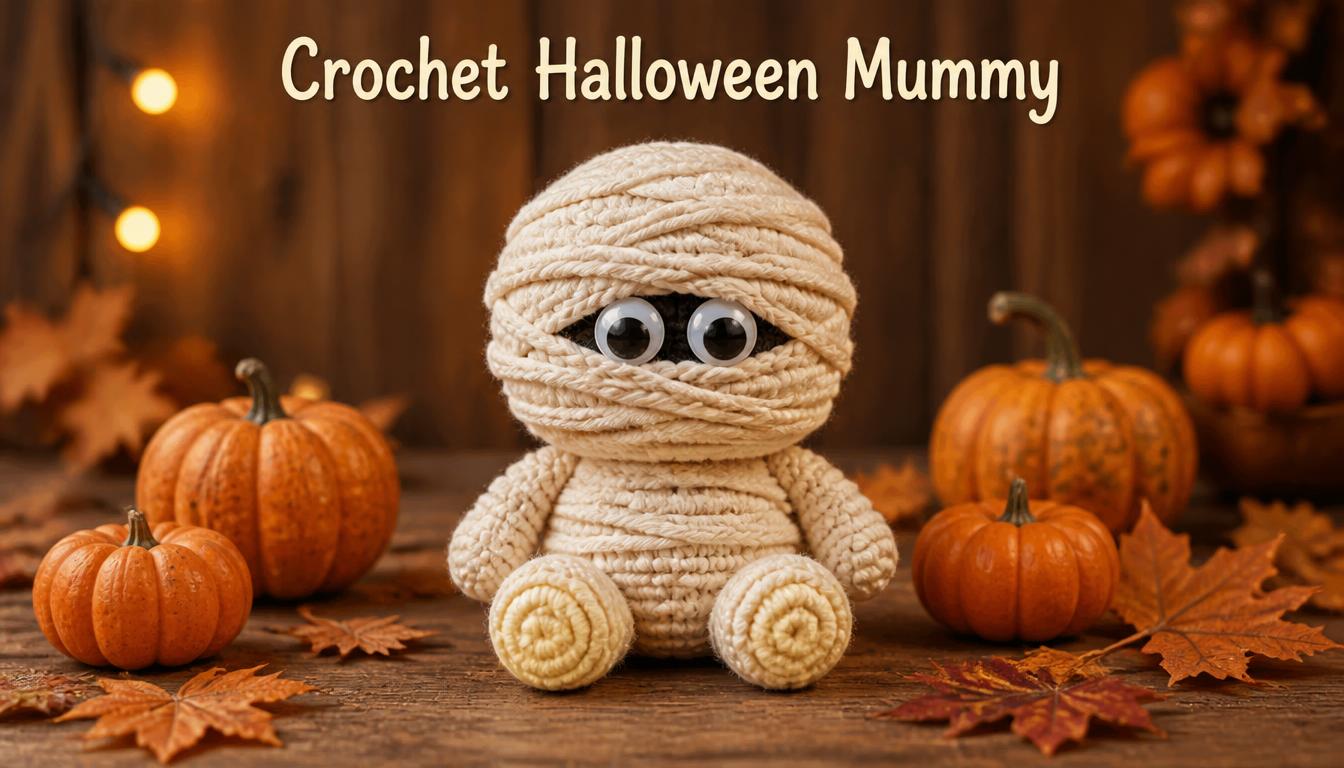
This is the best part. Crochet long, thin strips in cream yarn. Then sew them across the body and head at different angles. For a messy, realistic look, let the strips overlap. Alternatively, you can crochet the bandage texture right into the body for a no-sew finish.
Step 3: Give Your Crochet Mummy Amigurumi a Face
Place the safety eyes between the bandages. Leave a small gap so the eyes peek through. Finally, add a tiny stitched mouth or blush. These details give your mummy its charm.
Where to Find Free Crochet Mummy Tutorials
If you want a full tutorial, several designers share great options. These amigurumi free patterns are easy to follow and fun to make.
- Mini version: The team at 5 Little Monsters shares a mini mummy fall amigurumi pattern. It is small and perfect for quick decor.
- Paid option: Cloud9 Knots offers a polished mummy crochet pattern if you like detailed instructions.
- Community pattern: You can also browse this mummy pattern on Ravelry to compare styles and read notes from other makers.
Before you choose, check the skill level and the finished size. That way, you can pick the best match for your time and experience.
Tips for Neater Stitches
Small changes make a big difference. Use these tips to improve your results.
- Keep your tension tight. Tight stitches hide the stuffing and make the toy sturdier.
- Vary the bandage lengths. Short and long strips look more natural together.
- Use a stitch marker. It keeps your rounds accurate.
- Choose washable yarn. This helps if you plan to clean the toy later.
In addition, take a photo of your progress. Pinterest loves handmade crafts, so your finished toy could inspire others too.
Fun Ways to Display Your Finished Toy
Once you finish, you will wonder where to put it. Luckily, there are many cute ideas.
- Halloween decor: Place it on a shelf, mantel, or desk.
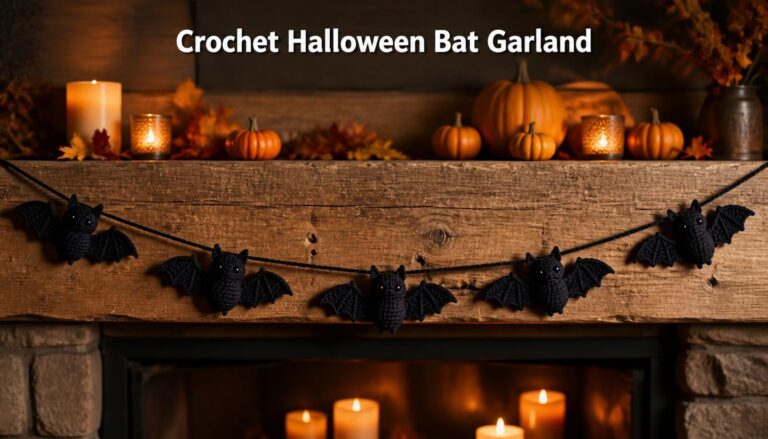
- Garland: Make several mummies and string them together.
- Gifts: Attach one to a treat bag or a gift tag.
- Keychains or ornaments: Add a small loop and hang it anywhere.
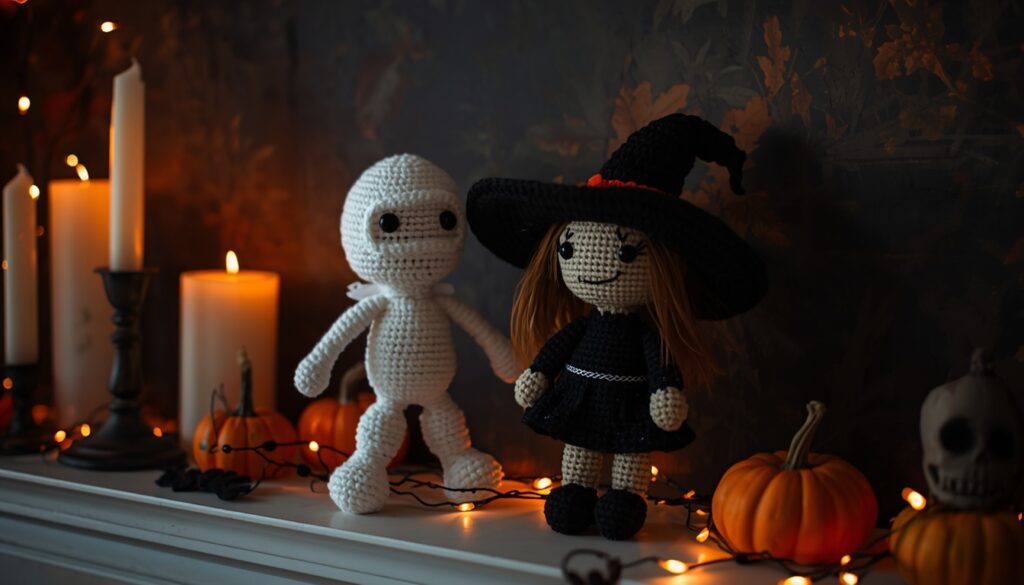
Still looking for more spooky ideas? Then try this crochet witch amigurumi next. It looks great beside your mummy.
What’s Trending for 2026
The craft is growing fast, and 2026 amigurumi patterns are full of new ideas. Expect more mini designs, no-sew toys, and cozy seasonal sets. Therefore, a mummy is a smart project to add to your list.
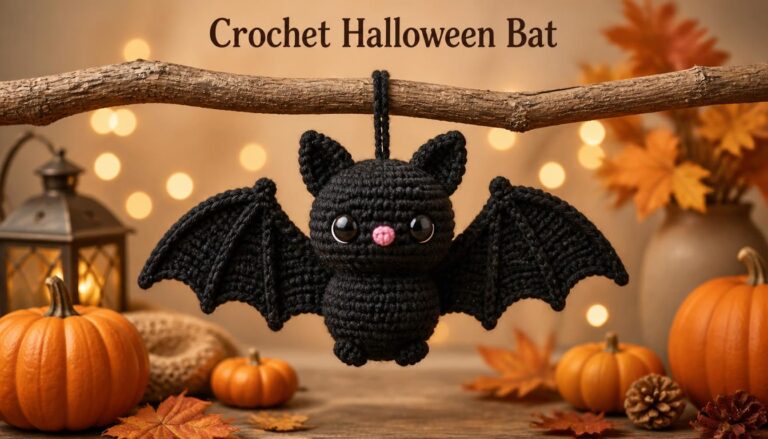
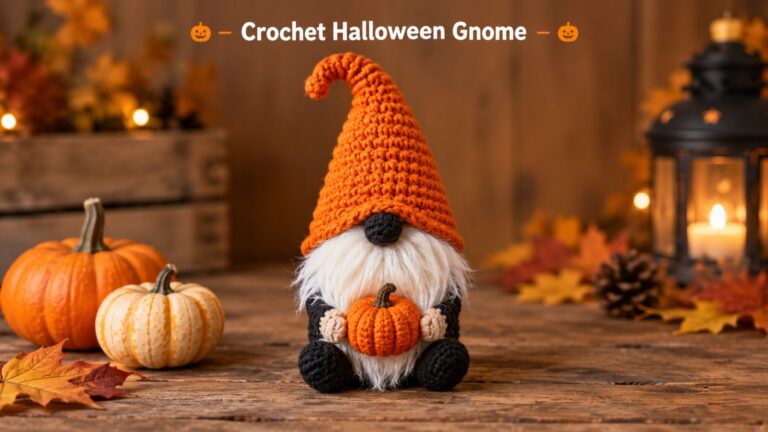
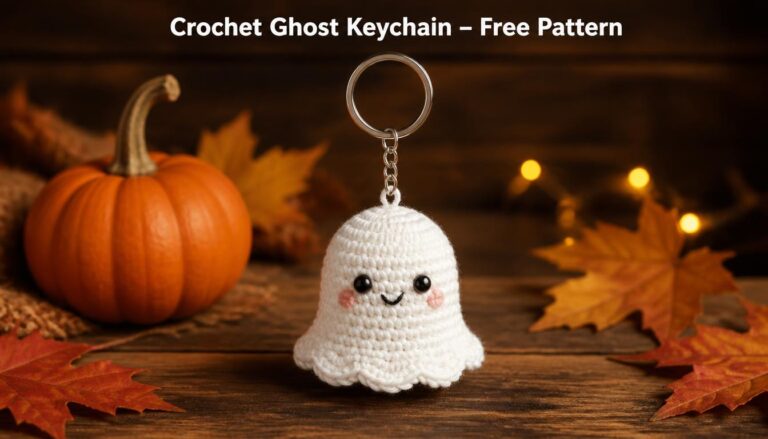
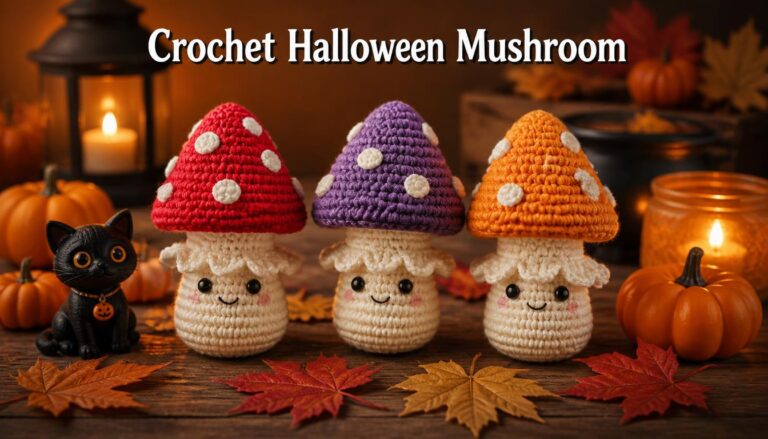
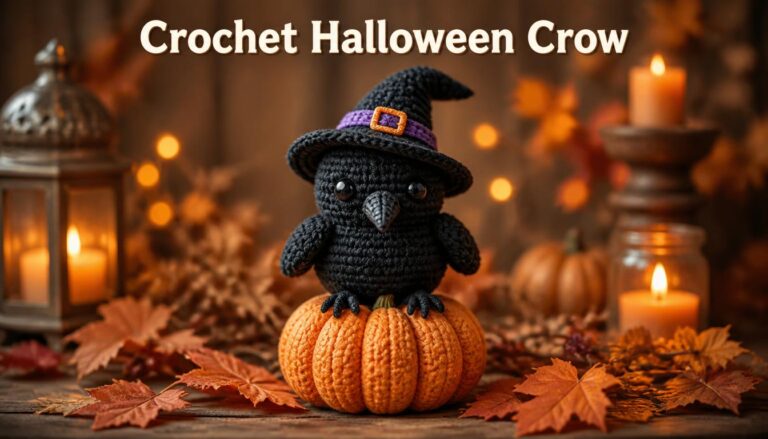
When you finish, you can keep going with a full Halloween collection. For example, pair your mummy with a ghost, a bat, and a black cat. Together, they make a charming little family.
Final Thoughts on Your Crochet Mummy Amigurumi
A crochet mummy amigurumi is fun, fast, and perfect for beginners. With a few simple supplies, you can create a sweet Halloween toy that lasts for years. So, pick a pattern, grab your yarn, and start stitching today.
Which design will you make first? Share your finished mummy and tell us how it turned out!