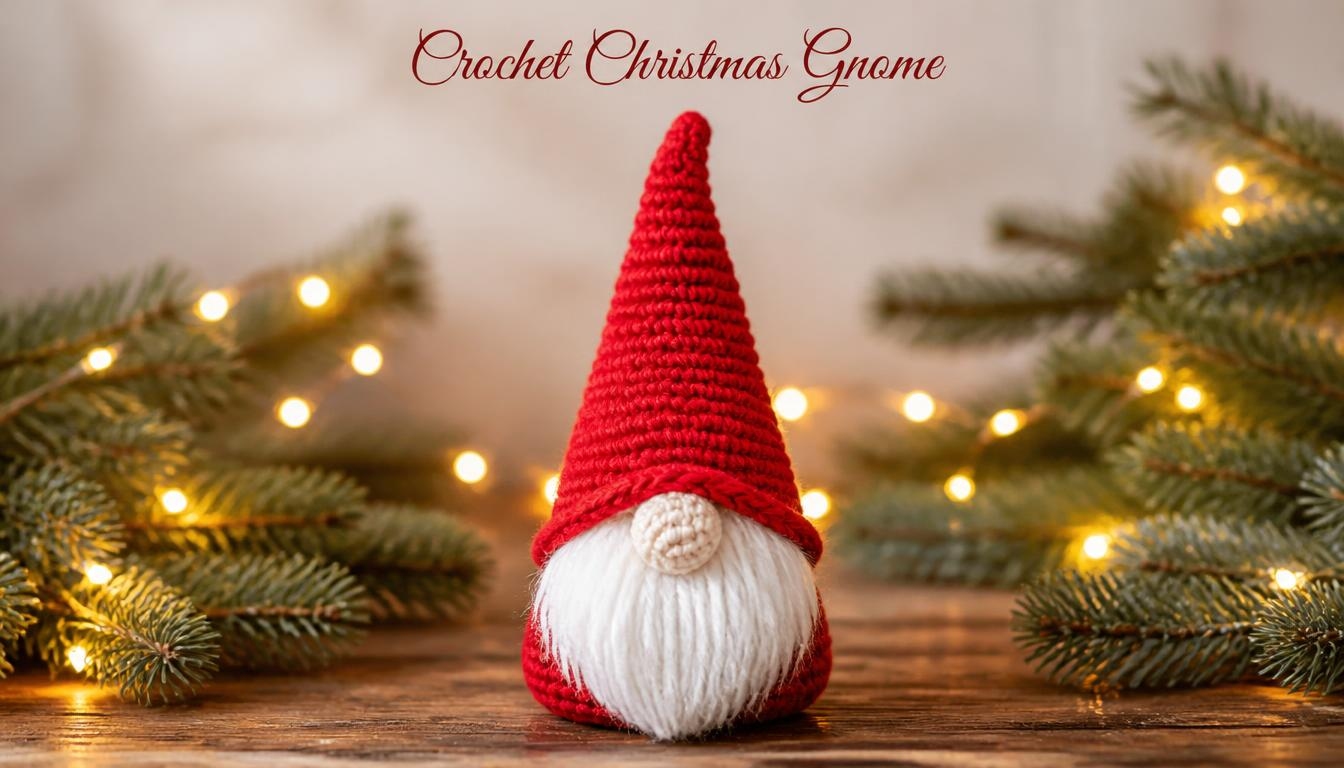
A crochet Christmas gnome is a quick, cute project that fits any holiday decor. Also, it uses scrap yarn and takes only a few hours. This guide gives you a free crochet gnome pattern with clear rounds, exact yarn amounts, and helpful tips. Beginners can follow along, because the shape is just a cone, a beard, and a nose.
Why Make a Crochet Christmas Gnome?
Crochet gnomes are popular for good reasons. First, they need very little yarn. Second, they work up fast, so you can make a whole set for gifts. Third, the shape is forgiving, which makes it ideal for new crocheters.
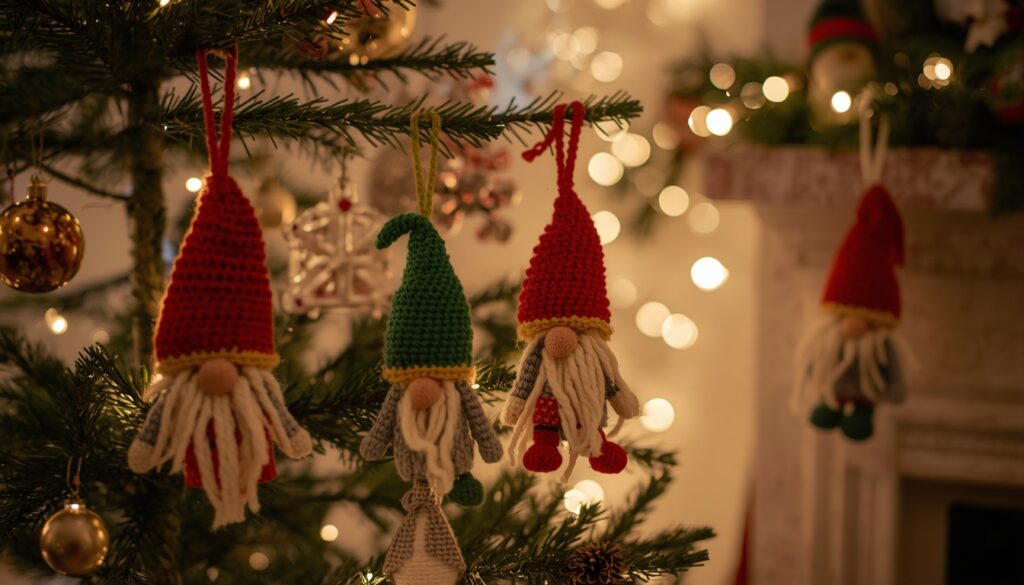
A crocheted gnome also does many jobs. For example, you can hang it as a gnome Christmas ornament, tuck it into a wreath, or perch it on a shelf. Gnome Christmas ornaments make quick gifts, too. In fact, a single 200 yd (183 m) skein of red yarn makes about five of them.
Materials for Your Crochet Christmas Gnome
Gather these supplies before you start:
- Red worsted weight yarn (weight 4): about 35 yd (32 m) for the body and hat
- White worsted weight yarn: about 6 yd (5.5 m) for the beard
- Beige or pink worsted weight yarn: about 3 yd (3 m) for the nose
- Crochet hook: 3.5 mm (US E-4)
- Polyester fiberfill: a small handful, about 15 g (0.5 oz)
- Tools: tapestry needle, scissors, and a stitch marker
- Optional: 1 tbsp poly pellets for weight, a 2 in (5 cm) felt circle for the base, and 6 in (15 cm) of yarn or ribbon for a hanging loop
Keep in mind that yarn amounts are approximate, so buy a little extra. Use a hook one or two sizes smaller than the yarn label suggests, because tight stitches keep the stuffing from showing through.
Once finished, your gnome stands about 4.5 in (11 cm) tall and 2 in (5 cm) wide with worsted yarn.
Realistic swaps: No beige yarn? Use a 20 mm (3/4 in) wooden bead or a small pom-pom for the nose. No poly pellets? Place a few clean metal washers in the base instead. Want a bigger gnome? Then use bulky yarn with a 4.5 mm hook for a gnome about 6 in (15 cm) tall.

Crochet Christmas Gnome Pattern: Step by Step
Here is the crochet gnome pattern free of charge. It uses US terms, and you work in continuous rounds without joining. Also, place a stitch marker in the first stitch of each round, and move it up as you go.
Abbreviations: MR = magic ring, sc = single crochet, inc = 2 sc in one stitch, sc2tog = single crochet two together, ch = chain.
Crochet the Body and Hat
First, start with red yarn. The body and hat form one tall cone, so this step saves time.
- Round 1: 6 sc in MR (6)
- Round 2: (sc, inc) × 3 (9)
- Round 3: sc in each stitch (9)
- Round 4: (2 sc, inc) × 3 (12)
- Round 5: sc in each stitch (12)
- Round 6: (3 sc, inc) × 3 (15)
- Round 7: sc in each stitch (15)
- Round 8: (4 sc, inc) × 3 (18)
- Round 9: sc in each stitch (18)
- Round 10: (5 sc, inc) × 3 (21)
- Round 11: sc in each stitch (21)
- Round 12: (6 sc, inc) × 3 (24)
- Round 13: sc in each stitch (24)
- Round 14: (7 sc, inc) × 3 (27)
- Round 15: sc in each stitch (27)
- Round 16: (8 sc, inc) × 3 (30)
- Round 17: sc in each stitch (30)
- Round 18: (9 sc, inc) × 3 (33)
- Round 19: sc in each stitch (33)
- Round 20: (10 sc, inc) × 3 (36)
- Rounds 21–24: sc in each stitch (36)
Finally, fasten off, and leave a 10 in (25 cm) tail for closing the base.
Crochet the Nose
Next, switch to beige or pink yarn for this small ball.
- Round 1: 6 sc in MR (6)
- Round 2: inc in each stitch (12)
- Rounds 3–4: sc in each stitch (12)
- Round 5: sc2tog × 6 (6)
Stuff the nose lightly. Then fasten off, leave a 6 in (15 cm) tail, and pull the last stitches closed.
Crochet the Beard
Now, the beard works in flat rows with white yarn. Remember to turn your work at the end of every row.
- Ch 13. Row 1: sc in the 2nd ch from the hook and in each ch across (12)
- Rows 2–3: ch 1, turn, sc in each stitch (12)
- Row 4: ch 1, turn, sc2tog, sc 8, sc2tog (10)
- Row 5: ch 1, turn, sc2tog, sc 6, sc2tog (8)
- Row 6: ch 1, turn, sc2tog, sc 4, sc2tog (6)
- Row 7: ch 1, turn, sc2tog, sc 2, sc2tog (4)
- Row 8: ch 1, turn, sc2tog × 2 (2)
Afterward, fasten off and leave an 8 in (20 cm) tail.
Assemble Your Crochet Christmas Gnome
- Stuff the cone. Use a pencil to push fiberfill into the tip. Add pellets near the base, then top off with more fiberfill.
- Close the base. Sew the felt circle onto Round 24 with a whip stitch. Alternatively, weave the tail through the front loops of the last round, pull tight, and knot.
- Attach the nose. Next, center it on the front at Round 15, and sew it with the tail.
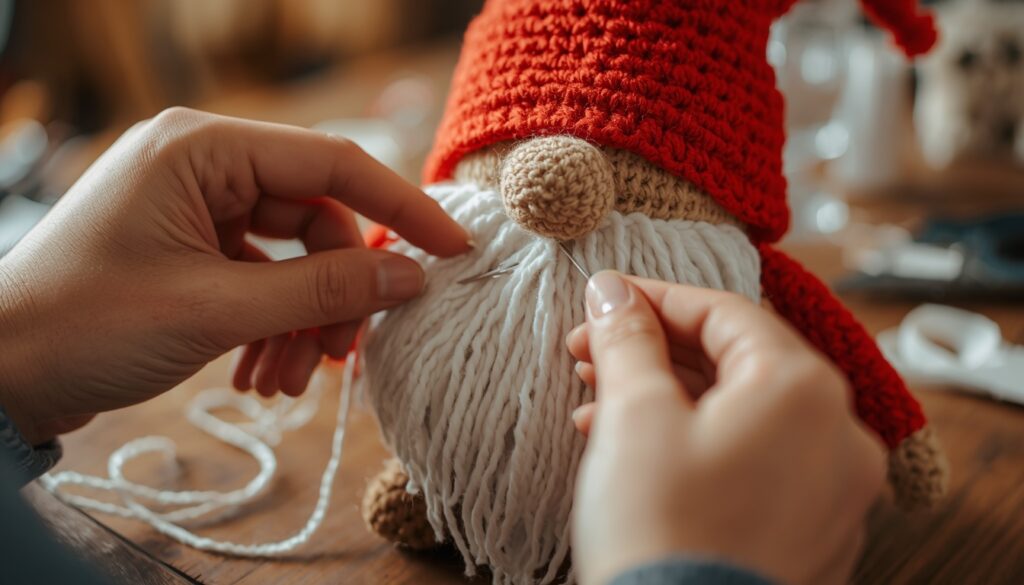
- Attach the beard. Pin the top edge at Round 16 with the point facing down. Then sew it on with the white tail.
- Add a hanging loop. After that, thread a 6 in (15 cm) strand through the tip of the hat, and tie a knot.
- Fluff the beard. Finally, brush it gently with a pet slicker brush or a fork.
Gnome Snowman and Santa Variations
Once you master this gnome pattern, try a few twists. Many free crochet gnome patterns use the same cone shape, so you can mix and match details. Try searching for crochet gnome patterns free online, or look up crochet gnomes patterns free for other hat and beard styles.
Gnome snowman: Work Rounds 1–14 in red or blue. Next, switch to white at Round 15 and finish the cone. Skip the beard. Instead, make a small orange carrot nose: work 6 sc in a MR, then crochet 3 rounds of sc (6). Stuff it lightly and sew it on. Finally, add two black bead eyes and tie a scarf of leftover yarn around the middle.
Would you like a full snowman instead? Browse these crochet snowman patterns for more ideas. For instance, Jen Hayes Creations shares a crochet snowman gnome that works as a great crochet pattern for snowman fans.
Santa gnome: Keep the red hat and white beard. Then sew a white pom-pom on the tip. Wrap a strip of white felt, about 4.25 in (11 cm) long and 0.5 in (1.25 cm) wide, around Round 12 for fur trim. For a different take, Nana’s Crafty Home offers a free Santa gnome ornament pattern that also works as an appliqué.

Tips and Common Mistakes to Avoid
Still, small errors can change the shape of your gnome. Use these tips to stay on track:
- Mark your first stitch. Rounds spiral, so a stitch marker keeps your count right.
- Count often. Check your total after every increase round.
- Keep stitches tight. Loose stitches let white fiberfill peek through. If that happens, drop down a hook size.
- Stuff gradually. Add small pieces at a time. Overstuffing warps the cone, while too little makes it floppy.
- Place the nose first. Otherwise, the beard may cover it. Pin both pieces, and check the look before you sew.
- Check your size early. After Round 8, the cone should measure roughly 1.5 in (4 cm). If it is much smaller, try a larger hook.
- Think about safety. Small beads, eyes, and pellets are choking hazards, so skip them for young children. Also, sew the base on securely.
Also, read the whole free gnome crochet pattern before you begin. That way, you know which supplies you need and avoid surprises.
Ways to Display Your Crochet Christmas Gnomes
A crocheted gnome looks great almost anywhere. In fact, you can group several crocheted gnomes for a bigger impact. For example, try these easy ideas:
- On the tree: Hang each gnome by its loop, and place a few on sturdy branches.
- On a wreath: Tie one in the center with a ribbon.
- As a gift topper: Tuck a gnome under the bow of a present.
- As a garland: String five gnomes on twine, spaced about 6 in (15 cm) apart.
- On a mantel: Add pellets to the base so your crochet gnomes stand up on their own.
For more inspiration, browse these crochet Christmas ornaments and pair them with your gnomes. Many free gnome crochet patterns also pair well with simple ball and star ornaments.
Final Thoughts
Overall, making a crochet Christmas gnome takes little yarn and just a few hours. Because this free crochet gnome pattern is simple, you can stitch a cute decoration for your home or a handmade gift. At first, make the classic red version. Then try the gnome snowman or the Santa version. Soon, you will want to explore other crochet gnome patterns and build a whole gnome village. Happy crocheting!