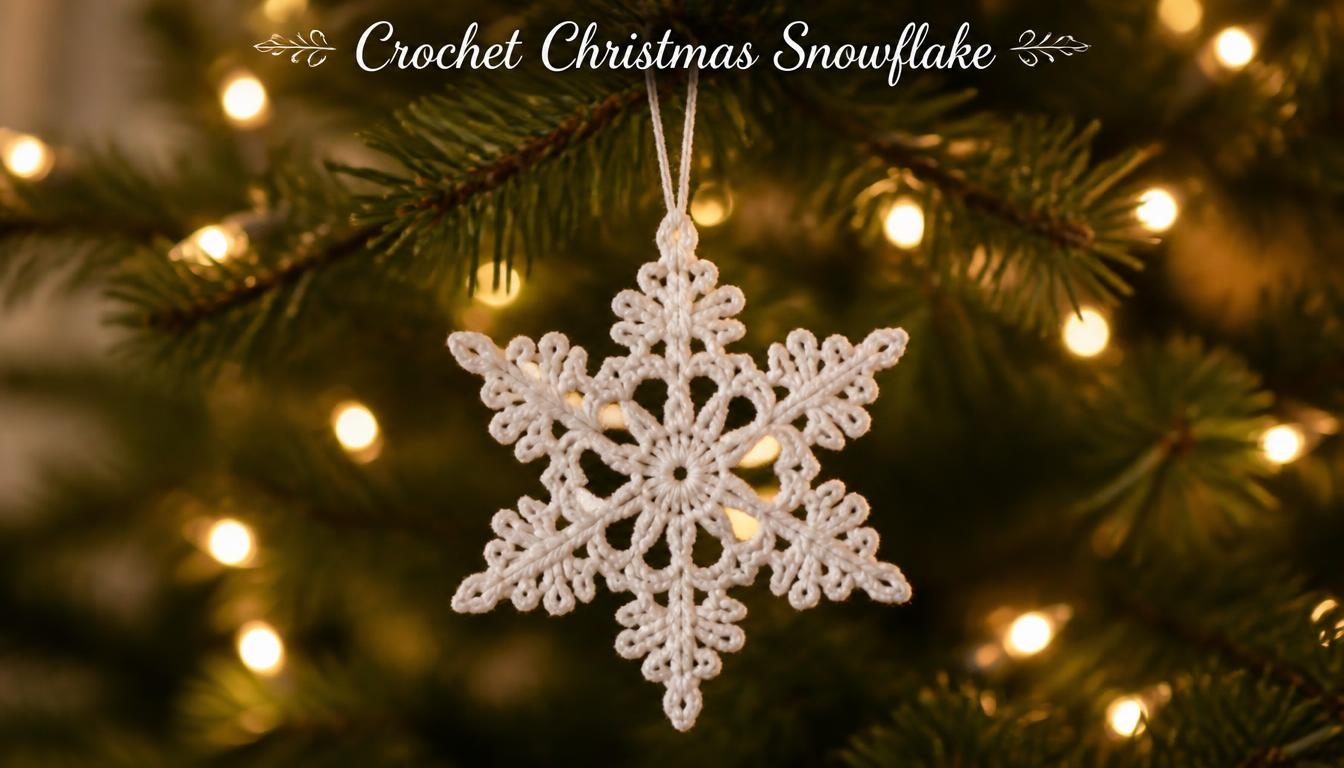
A crochet snowflake ornament is one of the fastest holiday projects you can make. In fact, each one takes about 20 minutes. Plus, it uses only a small amount of thread.
In this guide, you will learn how to crochet a snowflake from start to finish. The pattern is simple, so it works well for beginners. Along the way, you will find tips for stiffening, hanging, and avoiding common mistakes.
Moreover, if you love festive crafts, browse these crochet Christmas ornaments for more ideas.
Materials for Your Snowflake Ornament
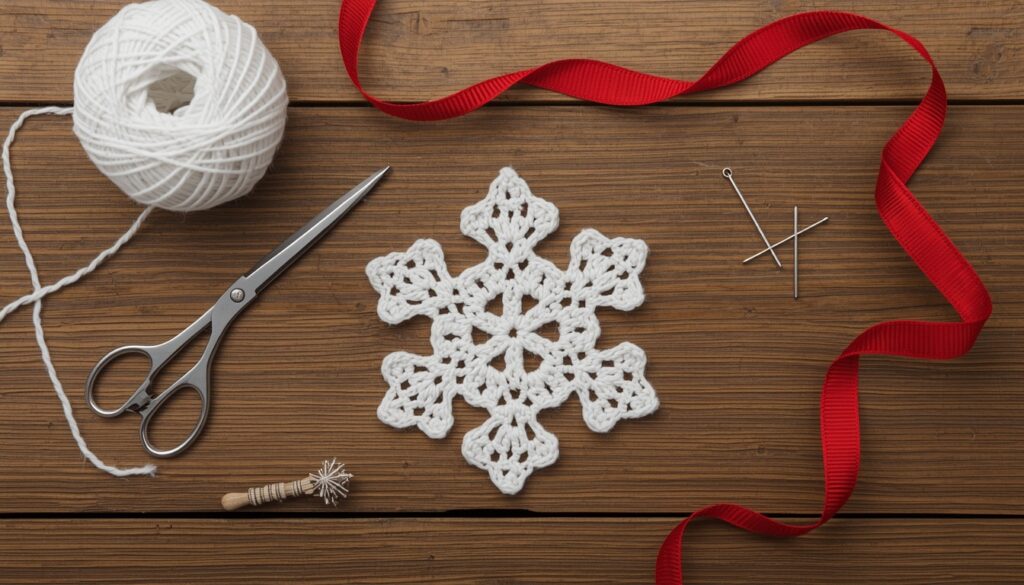
Luckily, you need very few supplies for this project. Gather these items before you start:
- Thread: About 5 yards (4.5 m) of size 10 cotton crochet thread per snowflake. White is classic, but you can try silver or gold.
- Hook: A 1.75 mm steel hook. Use a 2 mm hook if you want a looser, larger snowflake.
- Stiffener: Fabric stiffener, white craft glue mixed with water, or sugar syrup.
- Tools: Scissors, a tapestry needle, and pins.
- Blocking surface: A foam board or a thick towel covered with wax paper.
- Hanger: 6 inches (15 cm) of ribbon or thin cord.
Tip: Overall, cotton thread holds its shape better than acrylic. However, if you only have yarn, use a larger hook and expect a bigger, softer ornament.
Easy Crochet Snowflake Pattern: Stitches and Abbreviations
This easy crochet snowflake pattern uses only three basic stitches and one simple picot. First, learn them. After that, the rest goes quickly.
- ch: chain
- sc: single crochet
- sl st: slip stitch
- picot: ch 3, then sl st in the first chain
Overall, the finished size is about 3.5 inches (9 cm) across before stiffening. In addition, the snowflake grows slightly when you block it.
How to Crochet a Snowflake: Step-by-Step Instructions
This simple crochet snowflake pattern free of charge has two rounds. For the best results, work slowly and count your stitches.
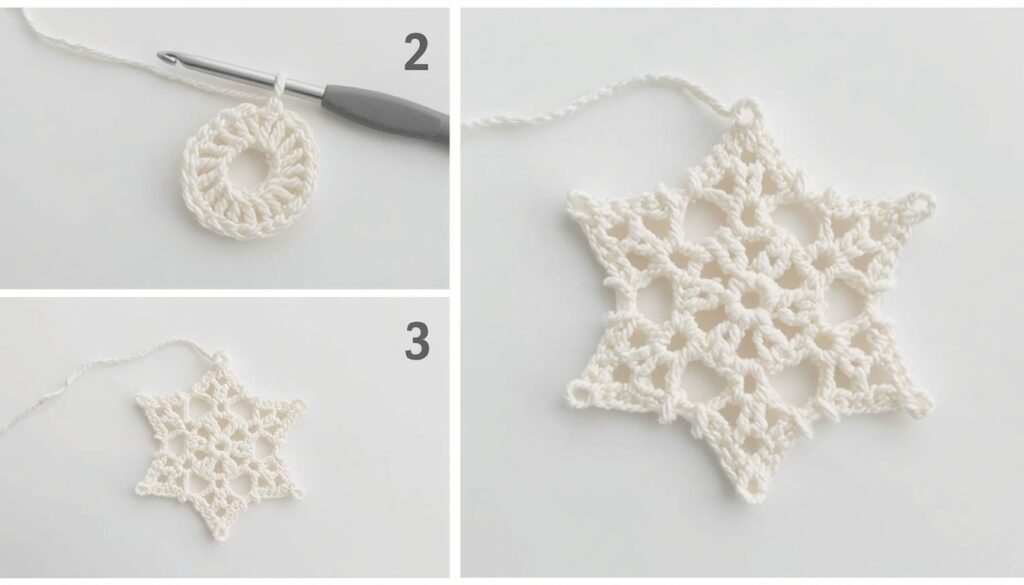
Round 1: Make the Center
- Make a magic ring.
- Ch 1, then work 12 sc into the ring.
- Join with a sl st to the first sc. Pull the ring tight.
At this point, you have 12 sc. Before you move on, count them.
Round 2: Make the Six Points
Next, repeat these steps six times around the ring:
- Ch 9.
- Sc in the second chain from the hook and in the next 3 chains (4 sc).
- Work one picot.
- Sc in the last 4 chains (8 sc total on the point).
- Sl st in the next 2 sc of Round 1.
After completing all six points, fasten off and weave in the yarn tail. Leave a 4-inch (10 cm) tail for finishing.
Optional Twist: Add Longer Branches
Want a fancier look? Then add extra picots on each point. For example, work one after the second sc and one after the sixth sc. As a result, each arm looks more like a real ice crystal.
Blocking and Stiffening Your Crochet Snowflake Ornament
Soft crochet will not look like a snowflake until you stiffen it. In fact, this step makes the biggest difference.
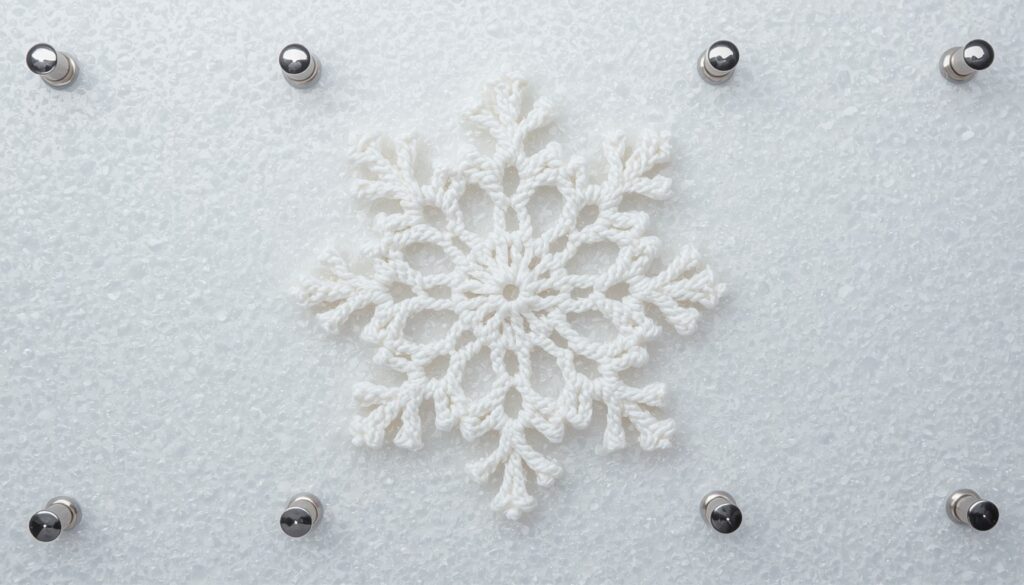
- Mix equal parts white glue and warm water. Use the stiffener straight from the bottle if you prefer.
- Soak the snowflake for one minute.
- Press out extra liquid with a clean towel.
- Pin the snowflake to your blocking surface. Pull each point straight and pin every picot.
- Let it dry for 12 to 24 hours.
Once it dries, remove the pins gently. As a result, the snowflake should feel firm and hold its shape.
Common Mistakes to Avoid
Fortunately, most problems come from small errors. Watch for these:
- Skipping the stiffener. The snowflake will curl and droop.
- Working too tightly. Tight stitches make the points twist. Relax your grip.
- Miscounting the ring. Twelve stitches make six even points. Eleven or thirteen will look lopsided.
- Pinning unevenly. Measure each point against a ruler while blocking.
- Using sticky glue straight from the bottle. It leaves a shiny coating. Dilute it first.
Fun Ways to Style Red Snowflakes and More
However, white is not your only choice. Try these ideas to personalize your set:
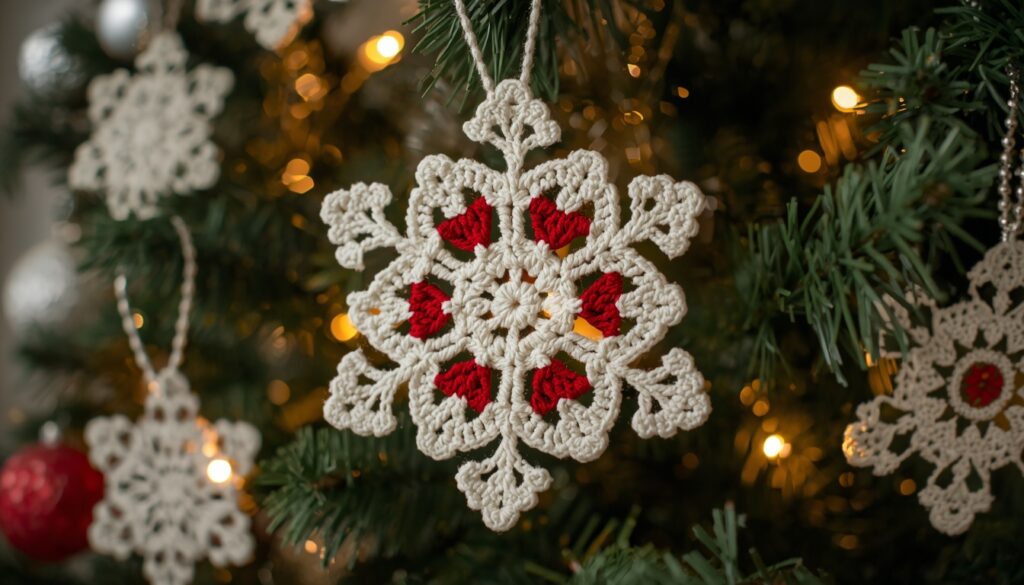
- Red snowflakes: Use red cotton thread for a bold look against a green tree.
- Metallic thread: Choose silver or gold for extra sparkle.
- Mixed sizes: Switch between a 1.5 mm and a 2.25 mm hook for small and large versions.
- Gift toppers: Tie a snowflake onto a wrapped present with ribbon.
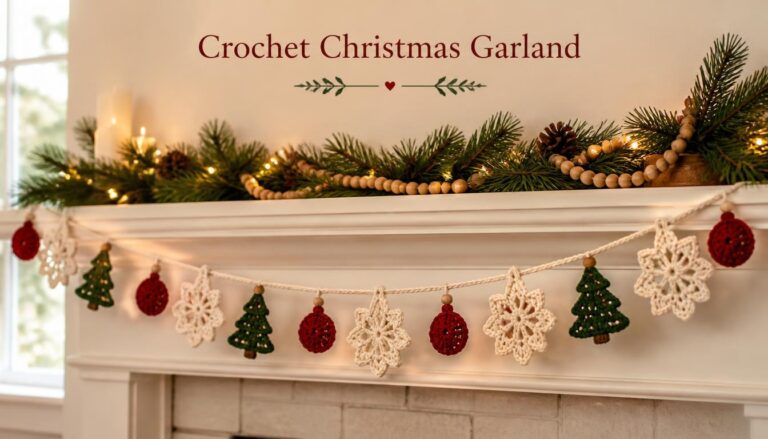
- Garland: Link 10 snowflakes with a 12-inch (30 cm) chain between each one.
To hang a snowflake ornament, first pull the ribbon through one point. Then tie the ends in a small knot.
More Free Crochet Snowflake Patterns to Try
Once you finish this design, you may want more variety. Fortunately, many designers share free crochet snowflake patterns online. For example, this crochet snowflake collection offers several styles in one place.
Likewise, if you learn better by watching, this YouTube playlist of crochet snowflake tutorials shows each step on video.
To pick your next project, use this quick guide:
- Crochet snowflake patterns for beginners: Start with two or three rounds and basic chains.
- Free snowflake crochet pattern with charts: Pick these if you like following symbols.
- Advanced crochet snowflakes free patterns: Try these once you feel comfortable with picots and clusters.
Whether you search for crochet snowflake patterns free, free crochet snowflake patterns easy to follow, or a simple crochet snowflake pattern, it pays to start small. Make one, then build a whole set.
Final Thoughts on Your Crochet Snowflake Ornament
A crochet snowflake ornament is quick, cheap, and fun to make. In short, you need only a little thread, a small hook, and some stiffener. Best of all, each snowflake makes a thoughtful handmade gift.
So, try this easy crochet snowflake pattern free today. Then explore more crochet snowflake patterns to grow your collection. Happy crocheting!